 "Forge Crown Victor!" (metallicaman0258)
09/17/2016 at 00:00 • Filed to: None
 2
2
 2
2|
"Forge Crown Victor!" (metallicaman0258)
09/17/2016 at 00:00 • Filed to: None | 2
| 2 |
!!!error: Indecipherable SUB-paragraph formatting!!!

Go to bed Forge... You’re delusional... NO! You don’t need another Woodchuck!
.:intermission:.
What’s this? What’s this! 2 posts in one night? What’s this? Details shining bright! What’s this? I can’t believe my eyes! Forge is typing up a storm, wake up guys we must be dreaming! WHAT! IS! THIS?!?!?!
.:end of intermission:.
.:Part 4:.
In the unreasonably incoherent flash of light that consists of the daytime, I tend to be a man who works on cars for a living and in the night time I become...

**deep breath** NOOOOOTTTHHIIIIINNNNNNNNNNNG
Nothing. Nothing more than a slave to my passion! My passion for archaic technology and the need to resurrect the dead!!!
Also, Its time to kick the corpse one more time and show you the progress made on the 5K. TODAY: we explore the steps showing cylinder head reassembly.
Picture from older post because relevance.
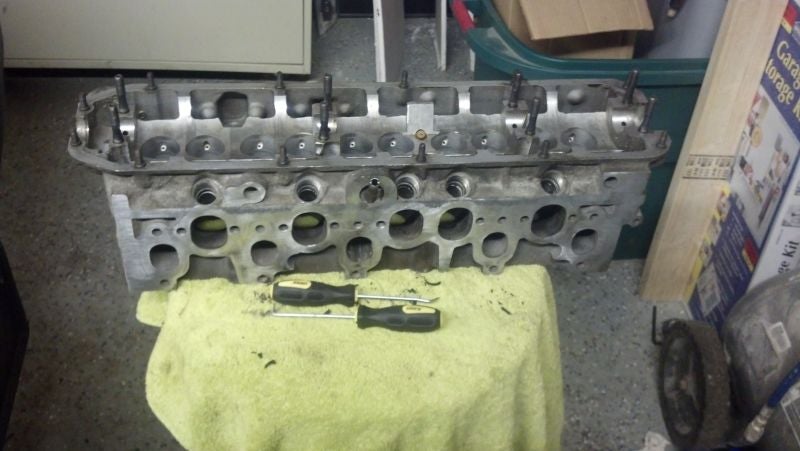
I got a straight 5 for ya!
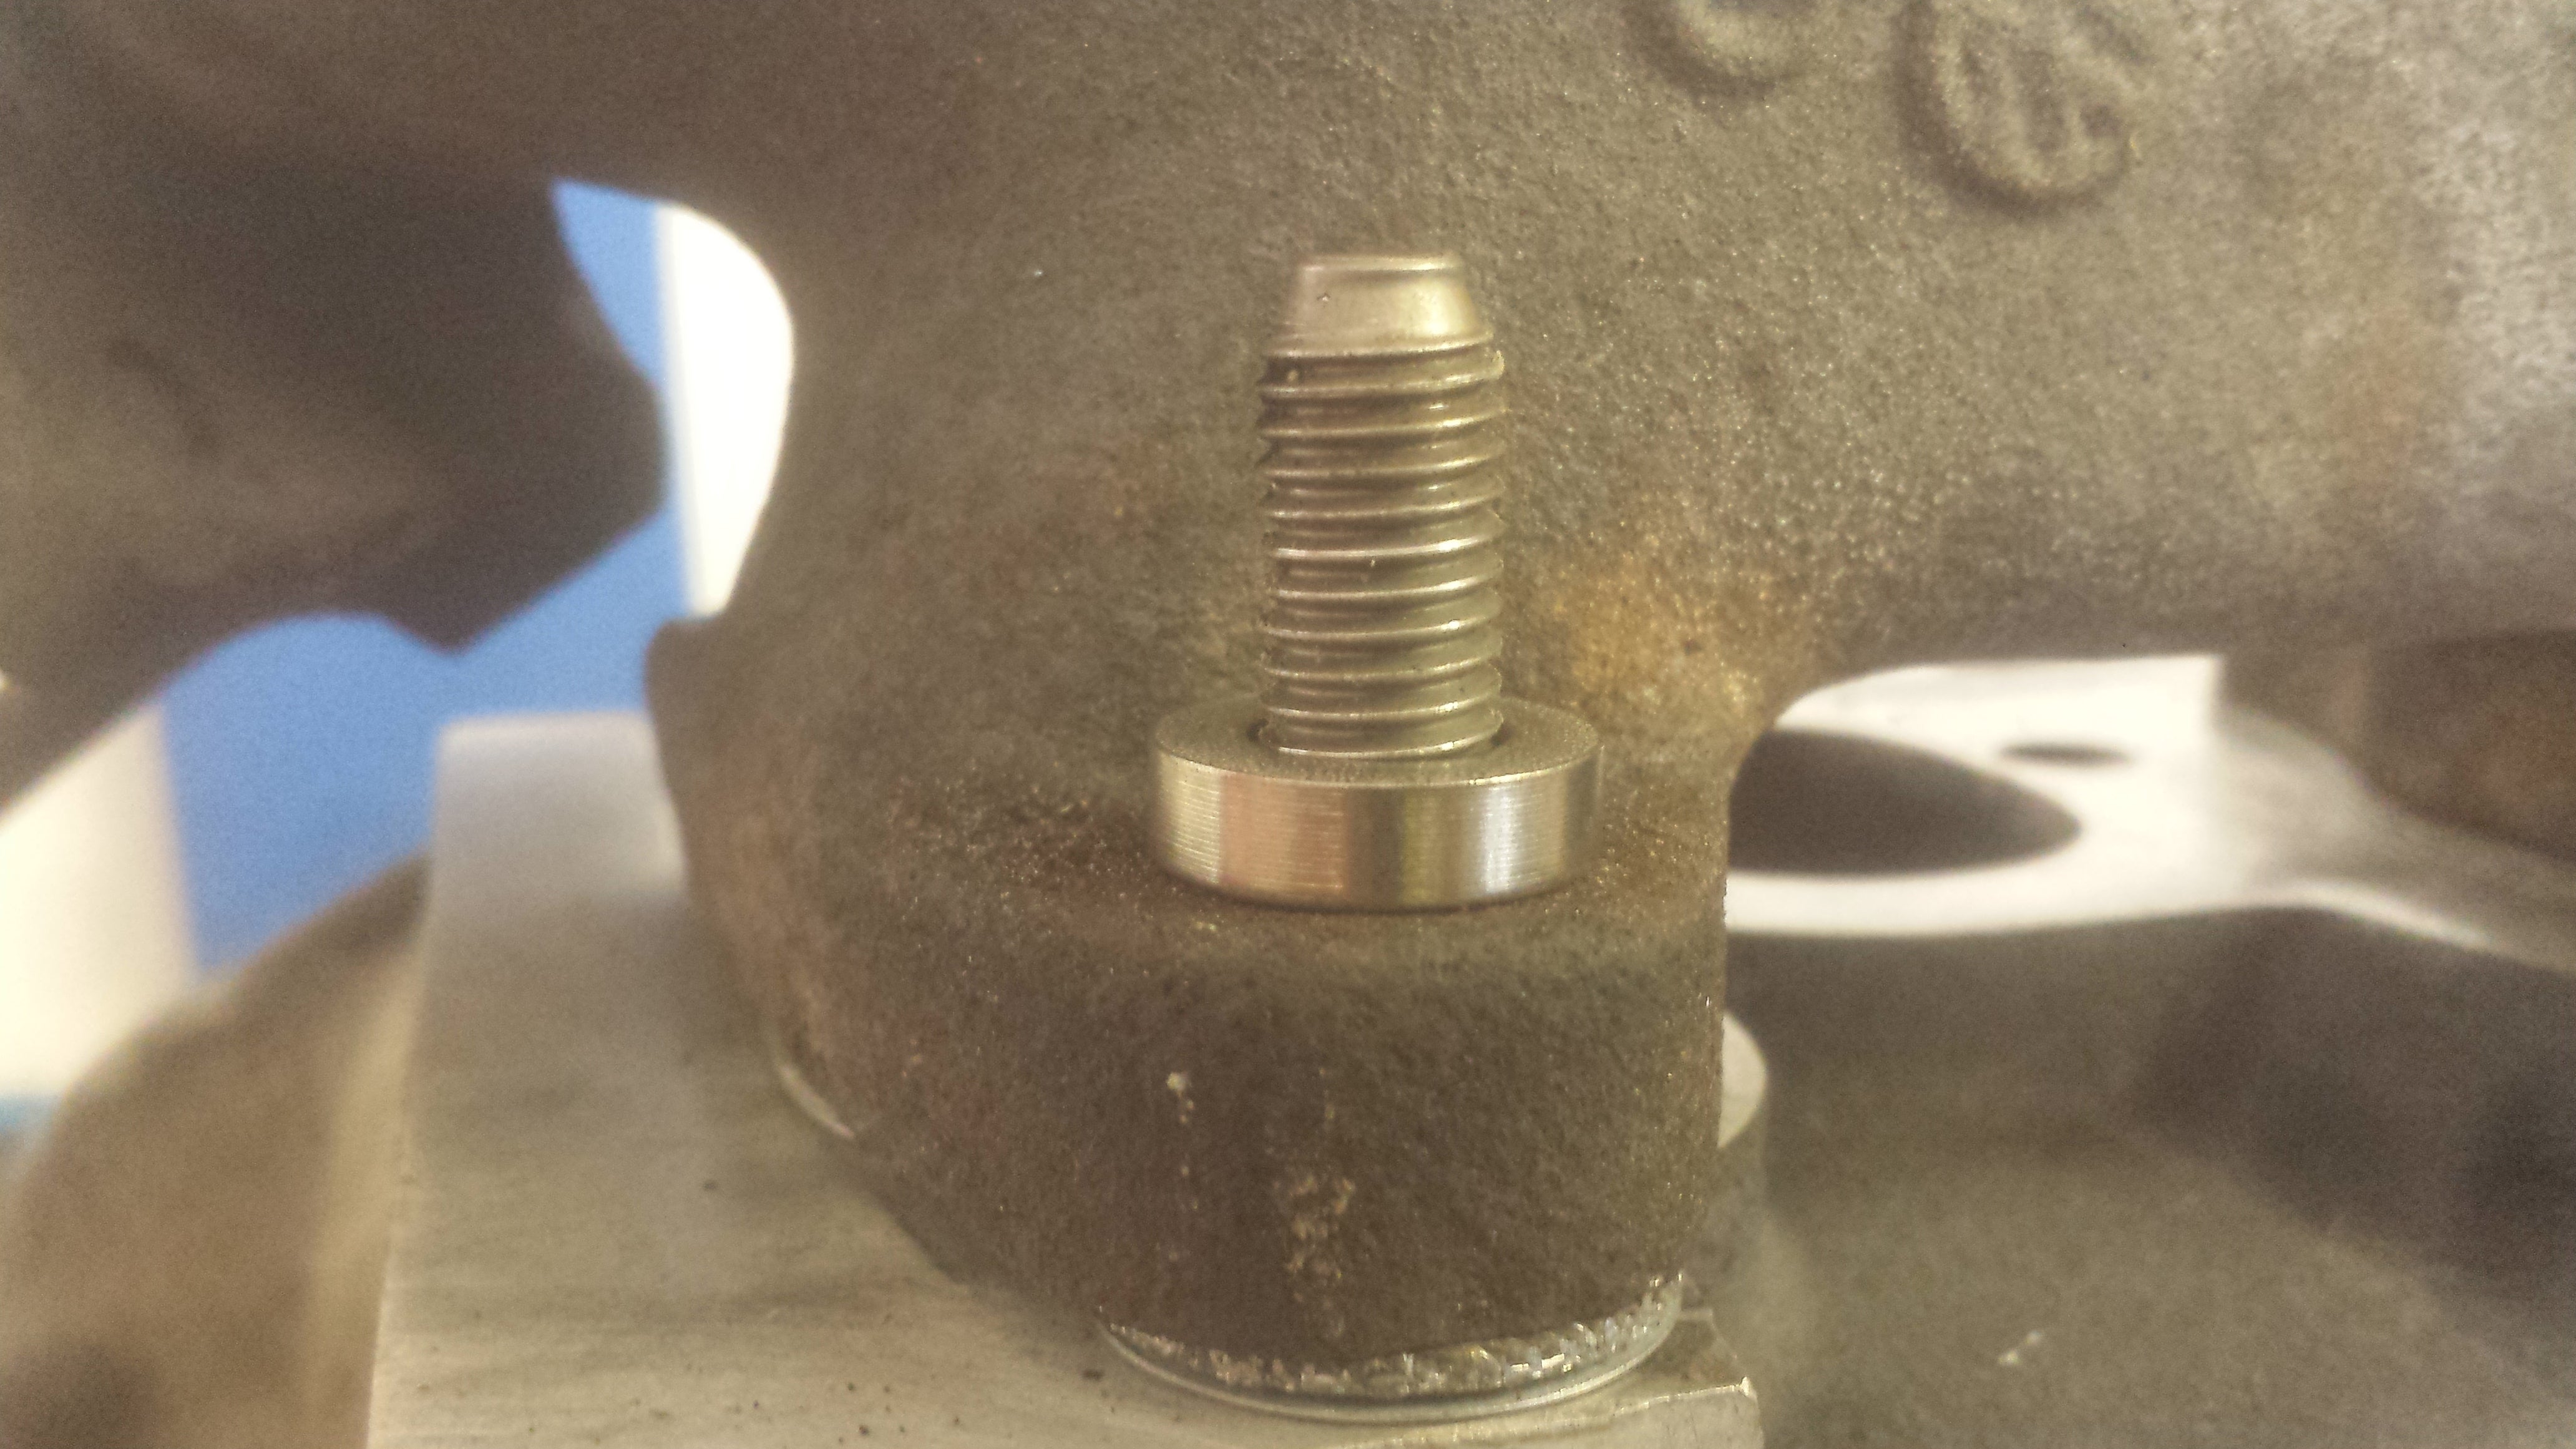
After installing the valves, the head looked only slightly different from this. This is the clean slate I have been looking forward to for quite some time. First thing to do is chase all of the stud holes with a new stud just to clean them out and prep them for the new hardware.
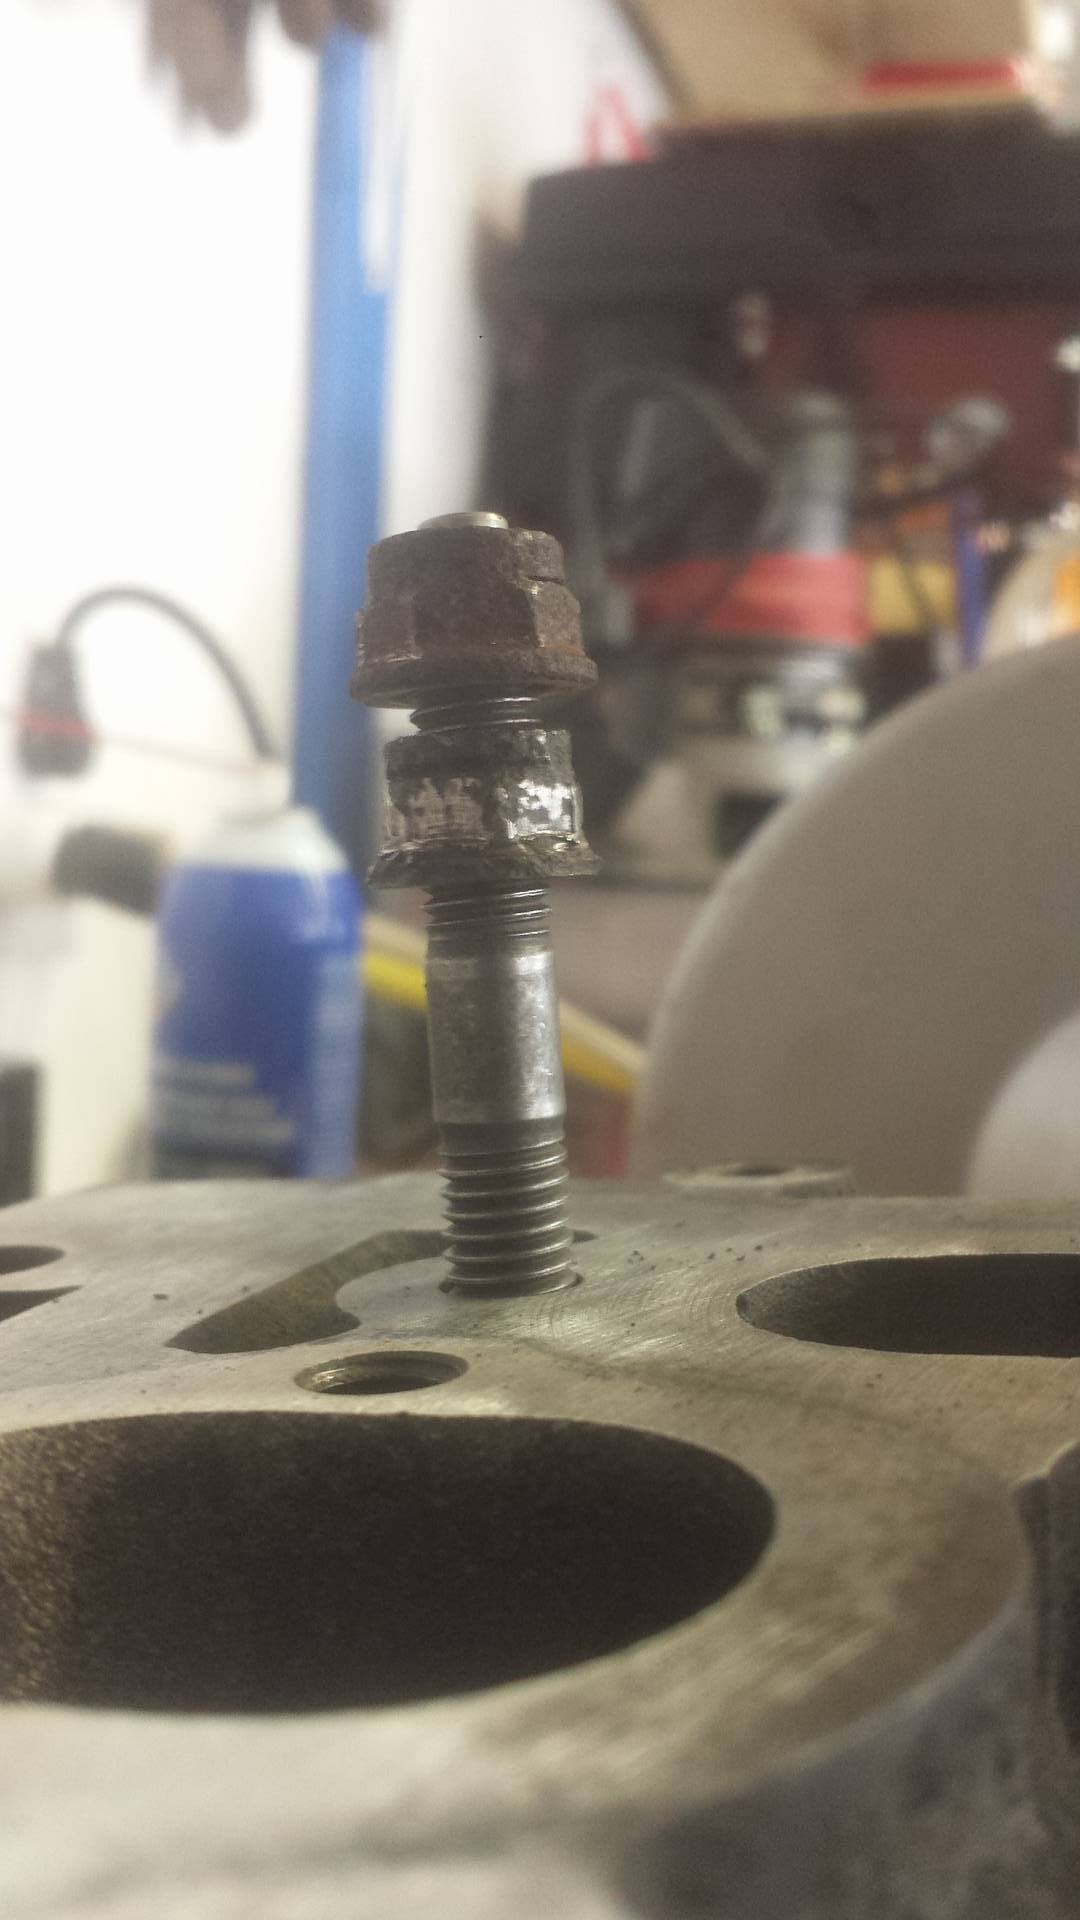
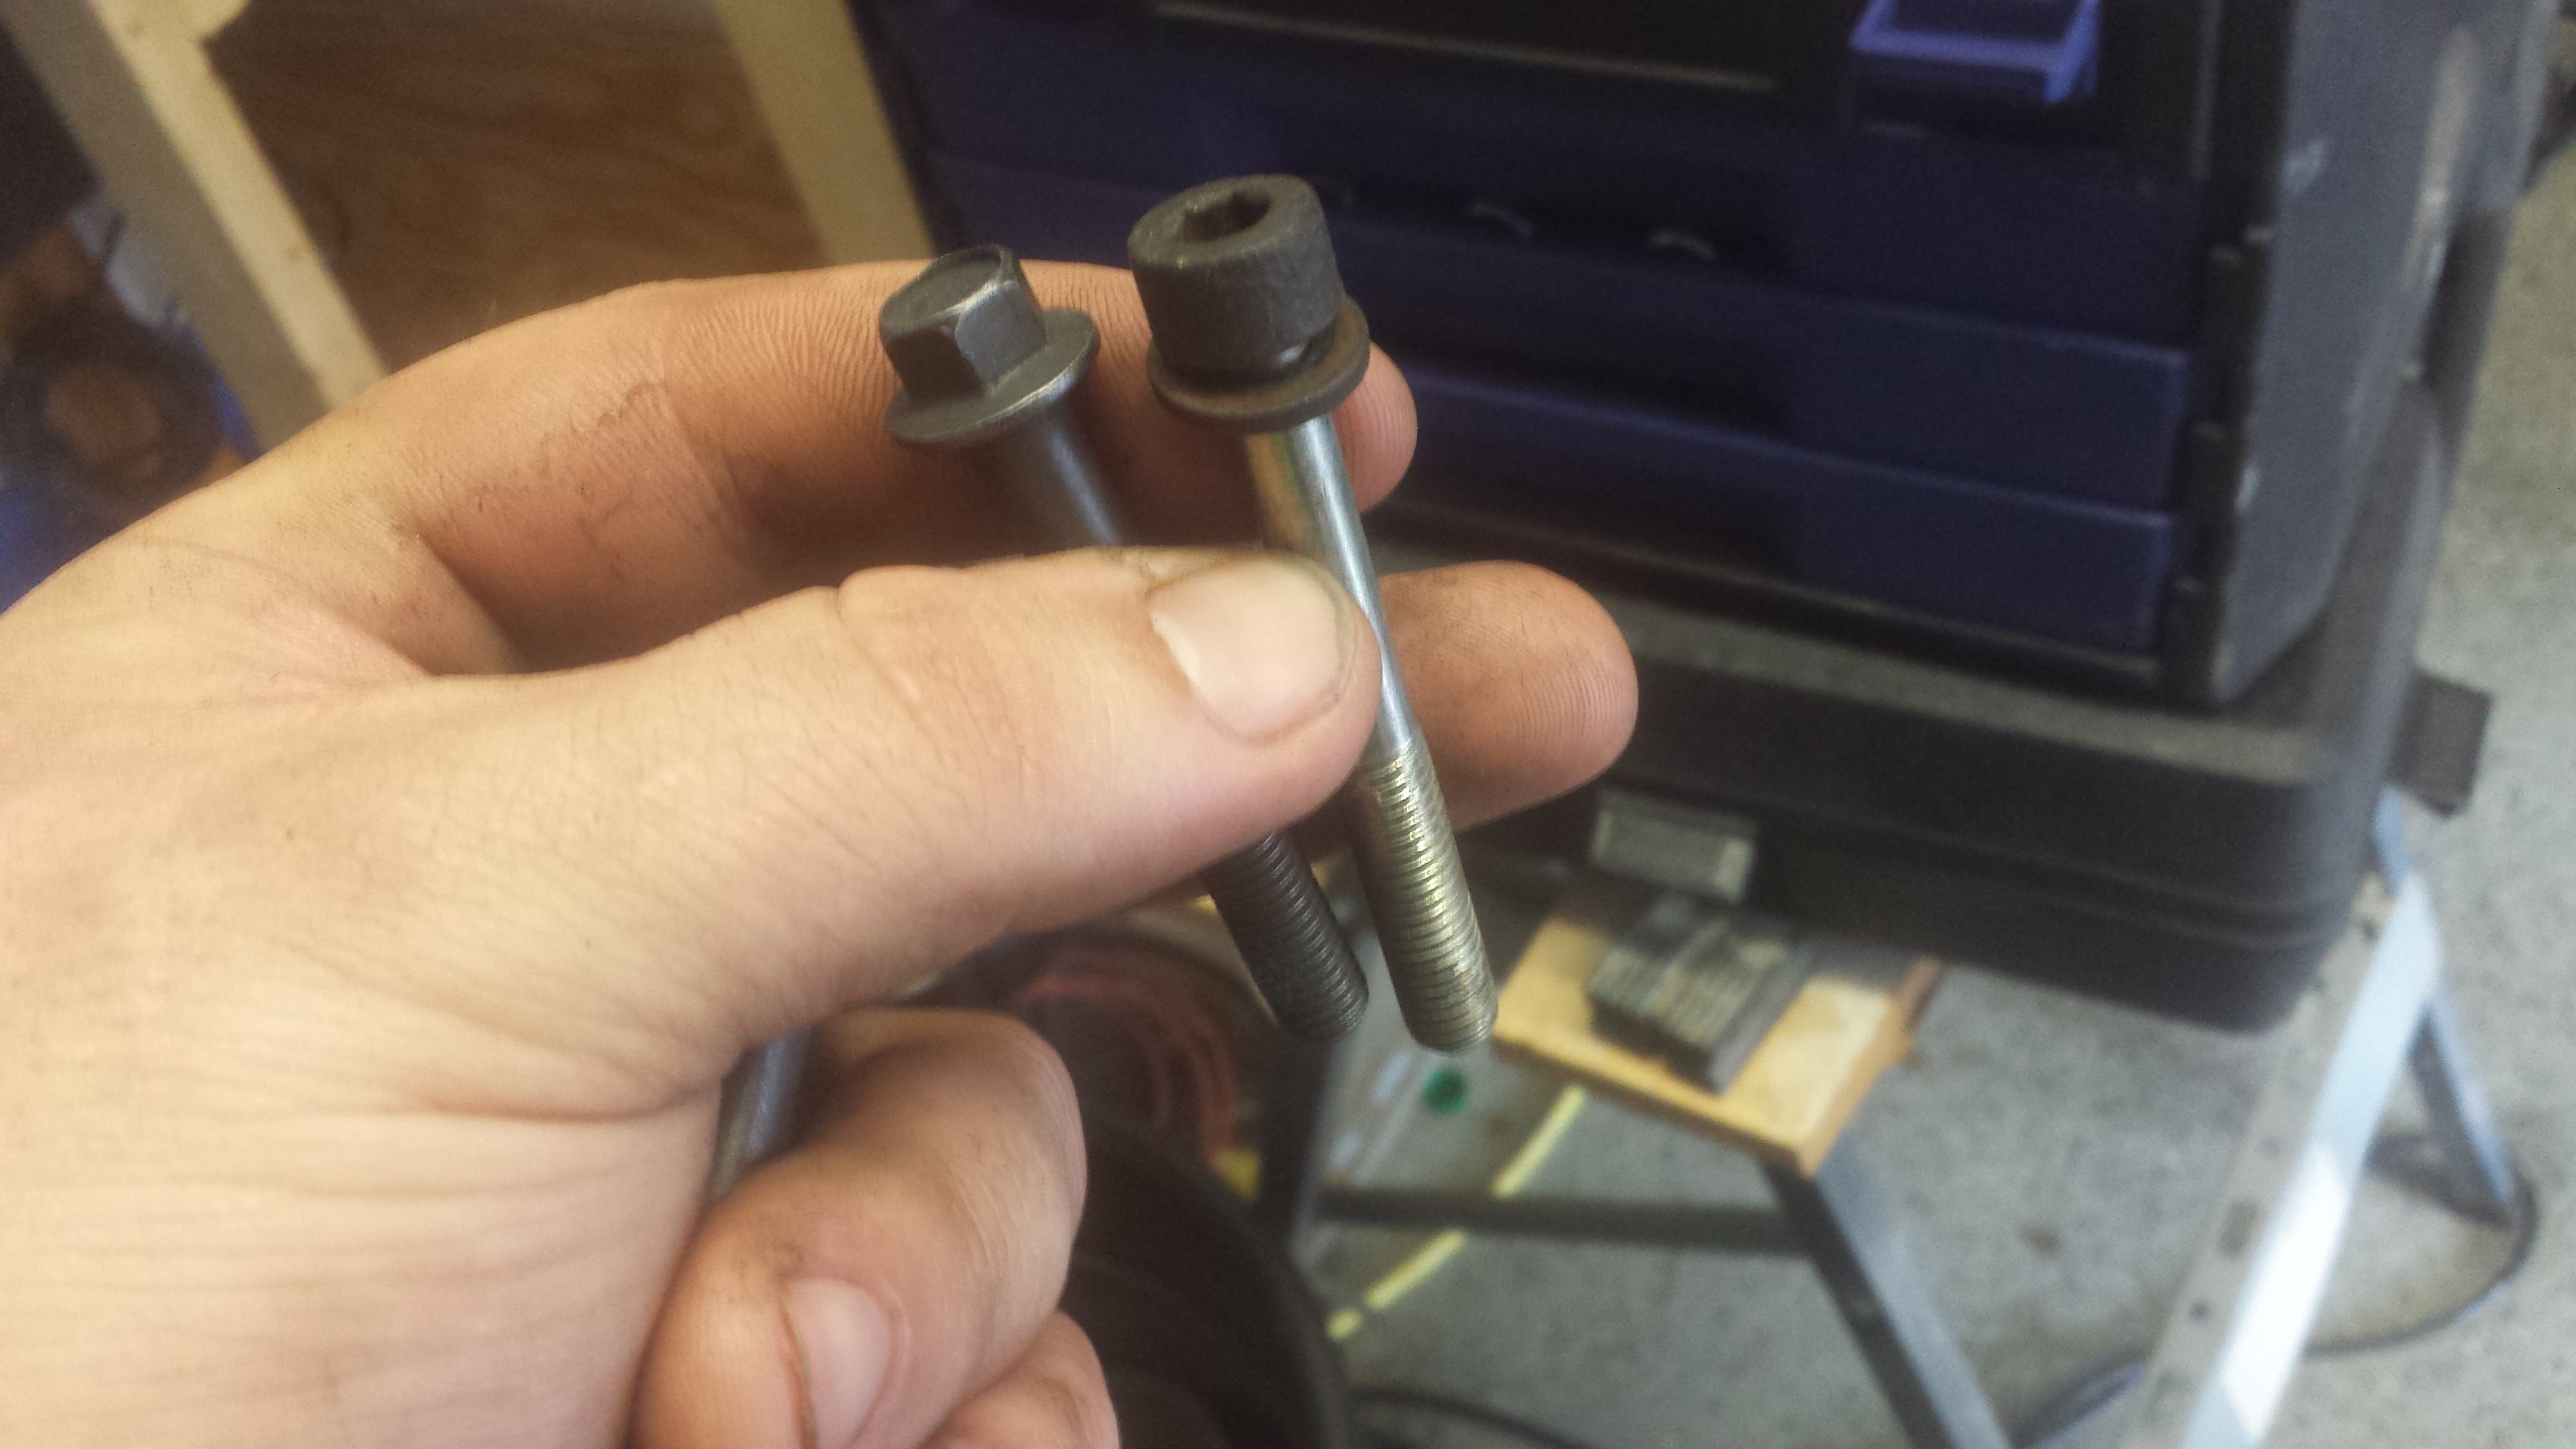
Sometimes you feel like a nut, Double your pleasure!
For those unfamiliar with the process, take a stud (for me it was for the exhaust manifold) and double nut as the above picture shows. I used old nuts because of potential damage to new (copper!) nuts. The reason to double nut is to put all the install torque on just the nuts by trying to screw the top one into the lower one. this prevents damage to the stud. After chasing all the holes, it was time for the install. Install is the same as chasing except you use a final torque on the stud once it reaches the depth required.
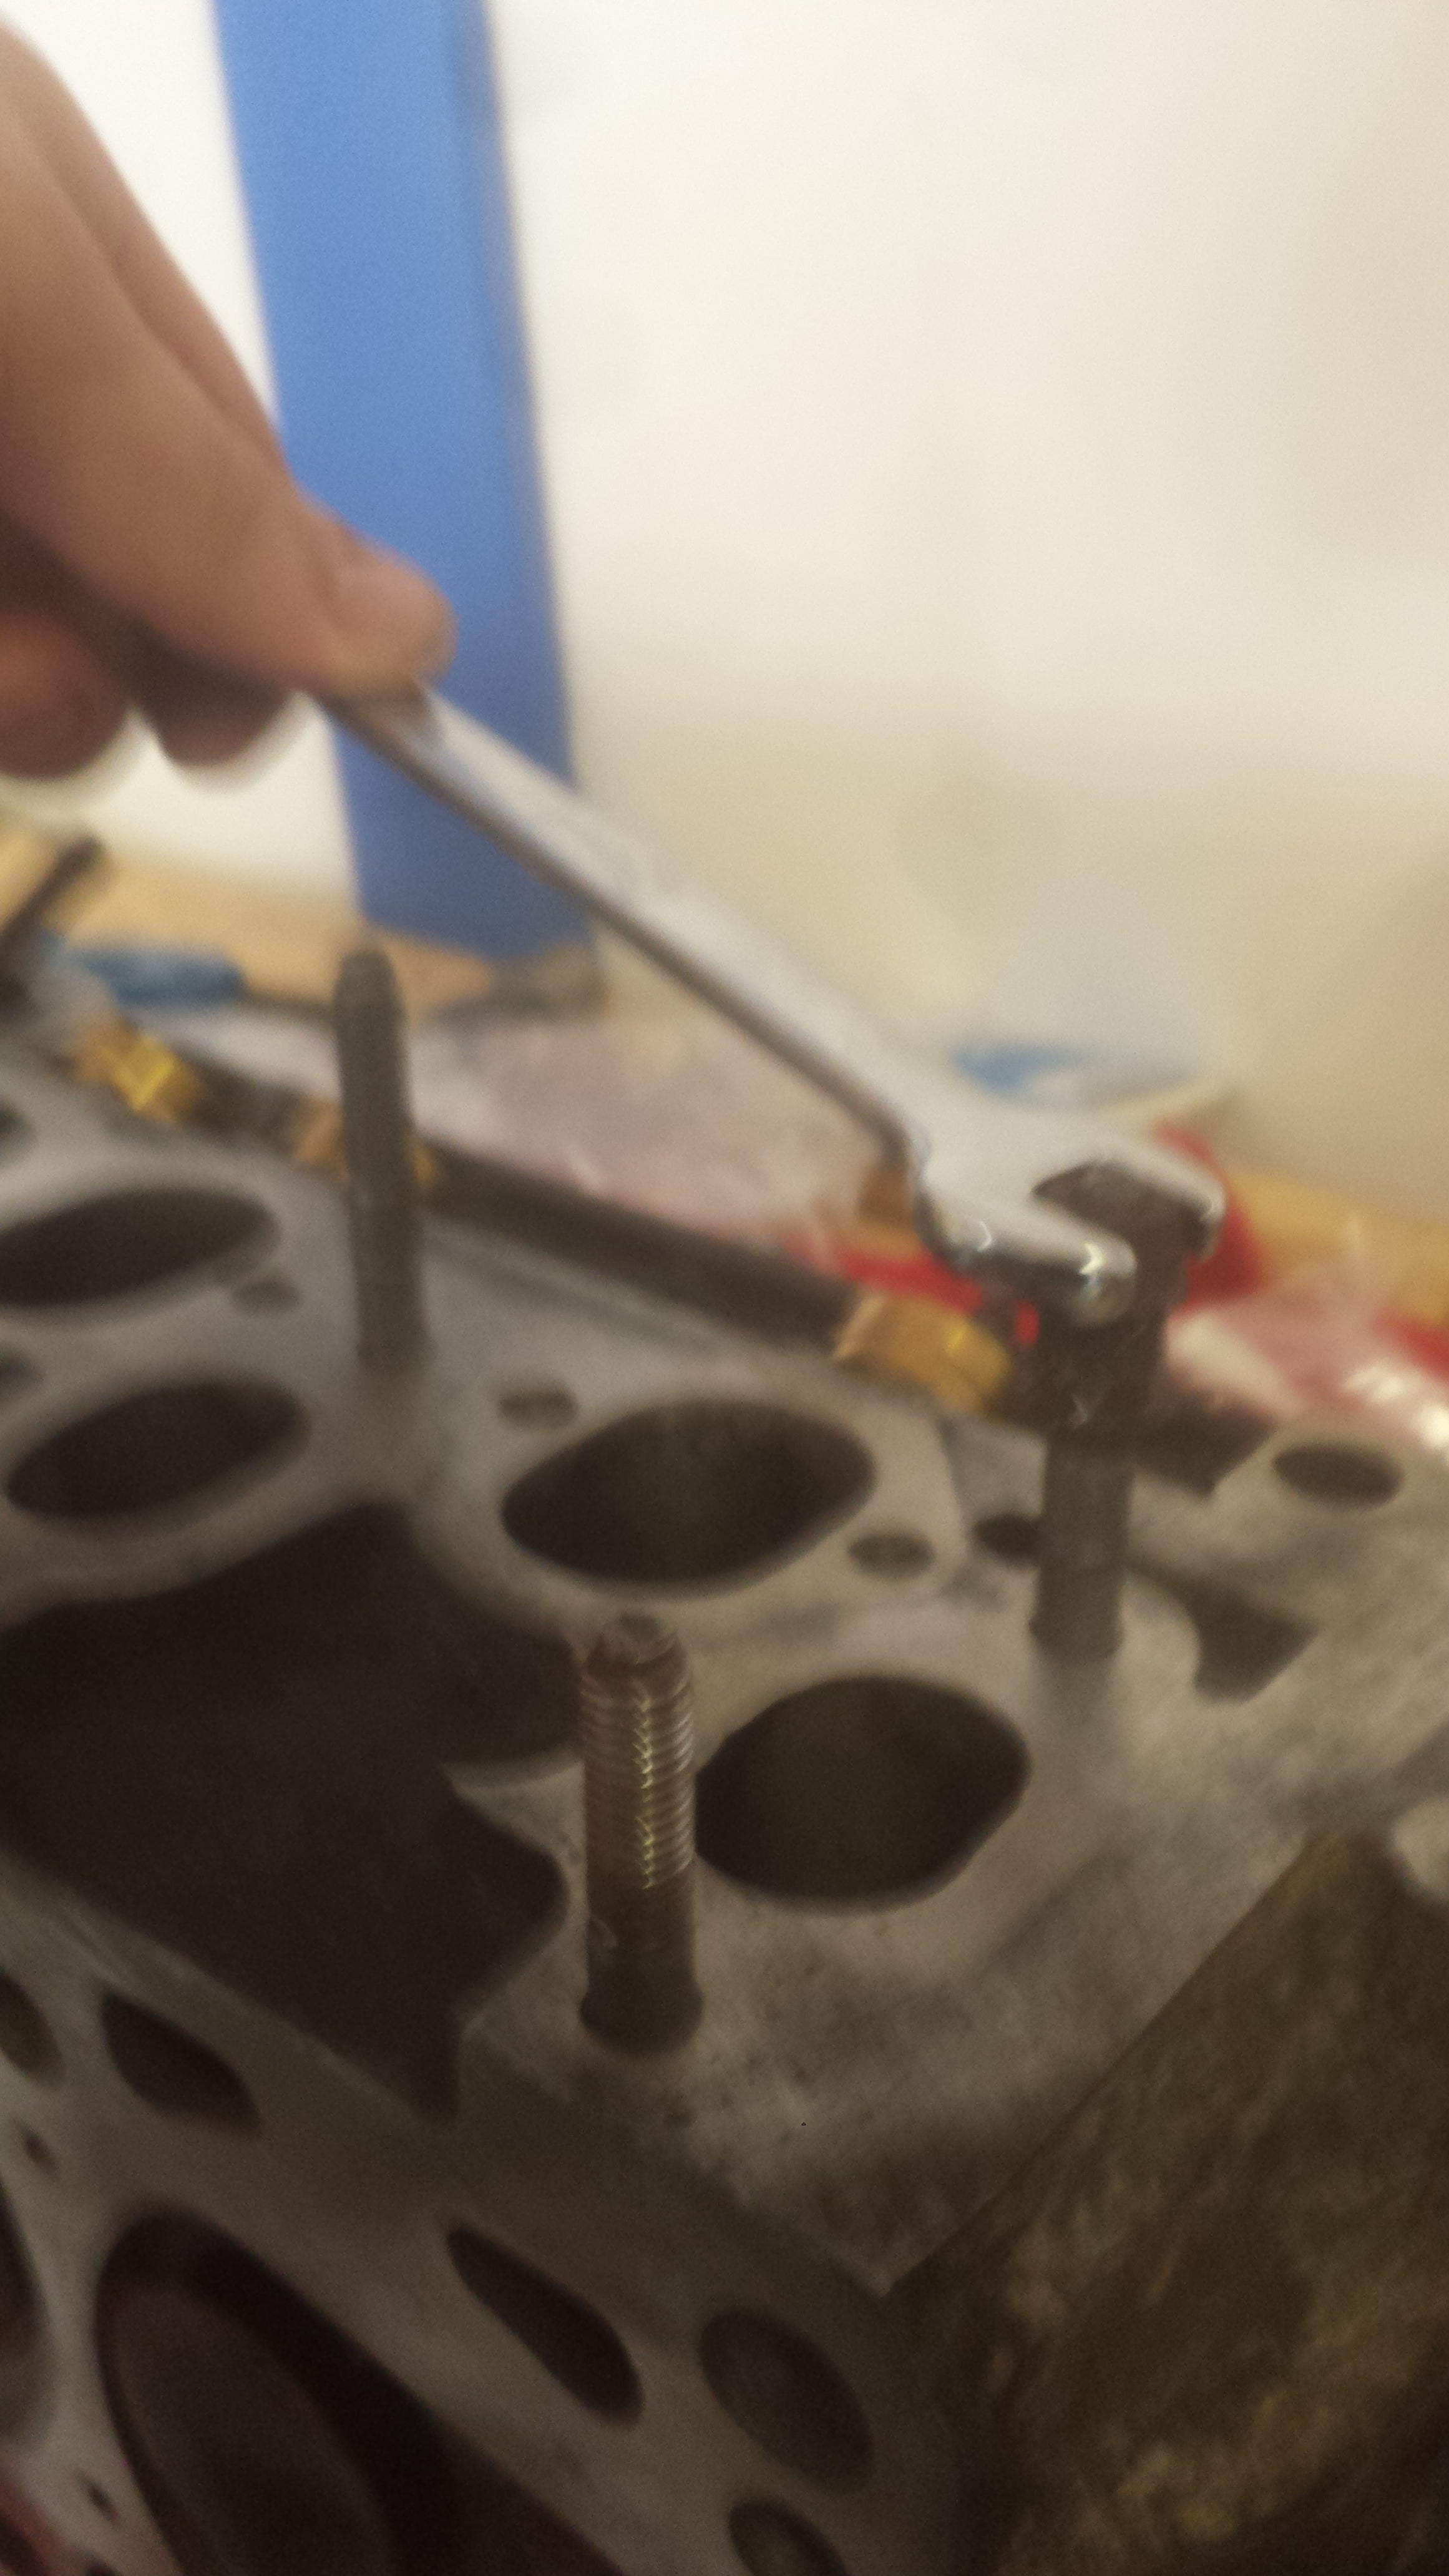
Camera phone + Coffee = blurry shots
Again, use the old nuts to install the new studs to prevent damage to the new hardware. A standard wrench is what I prefer because I can “feel” the bolts better.
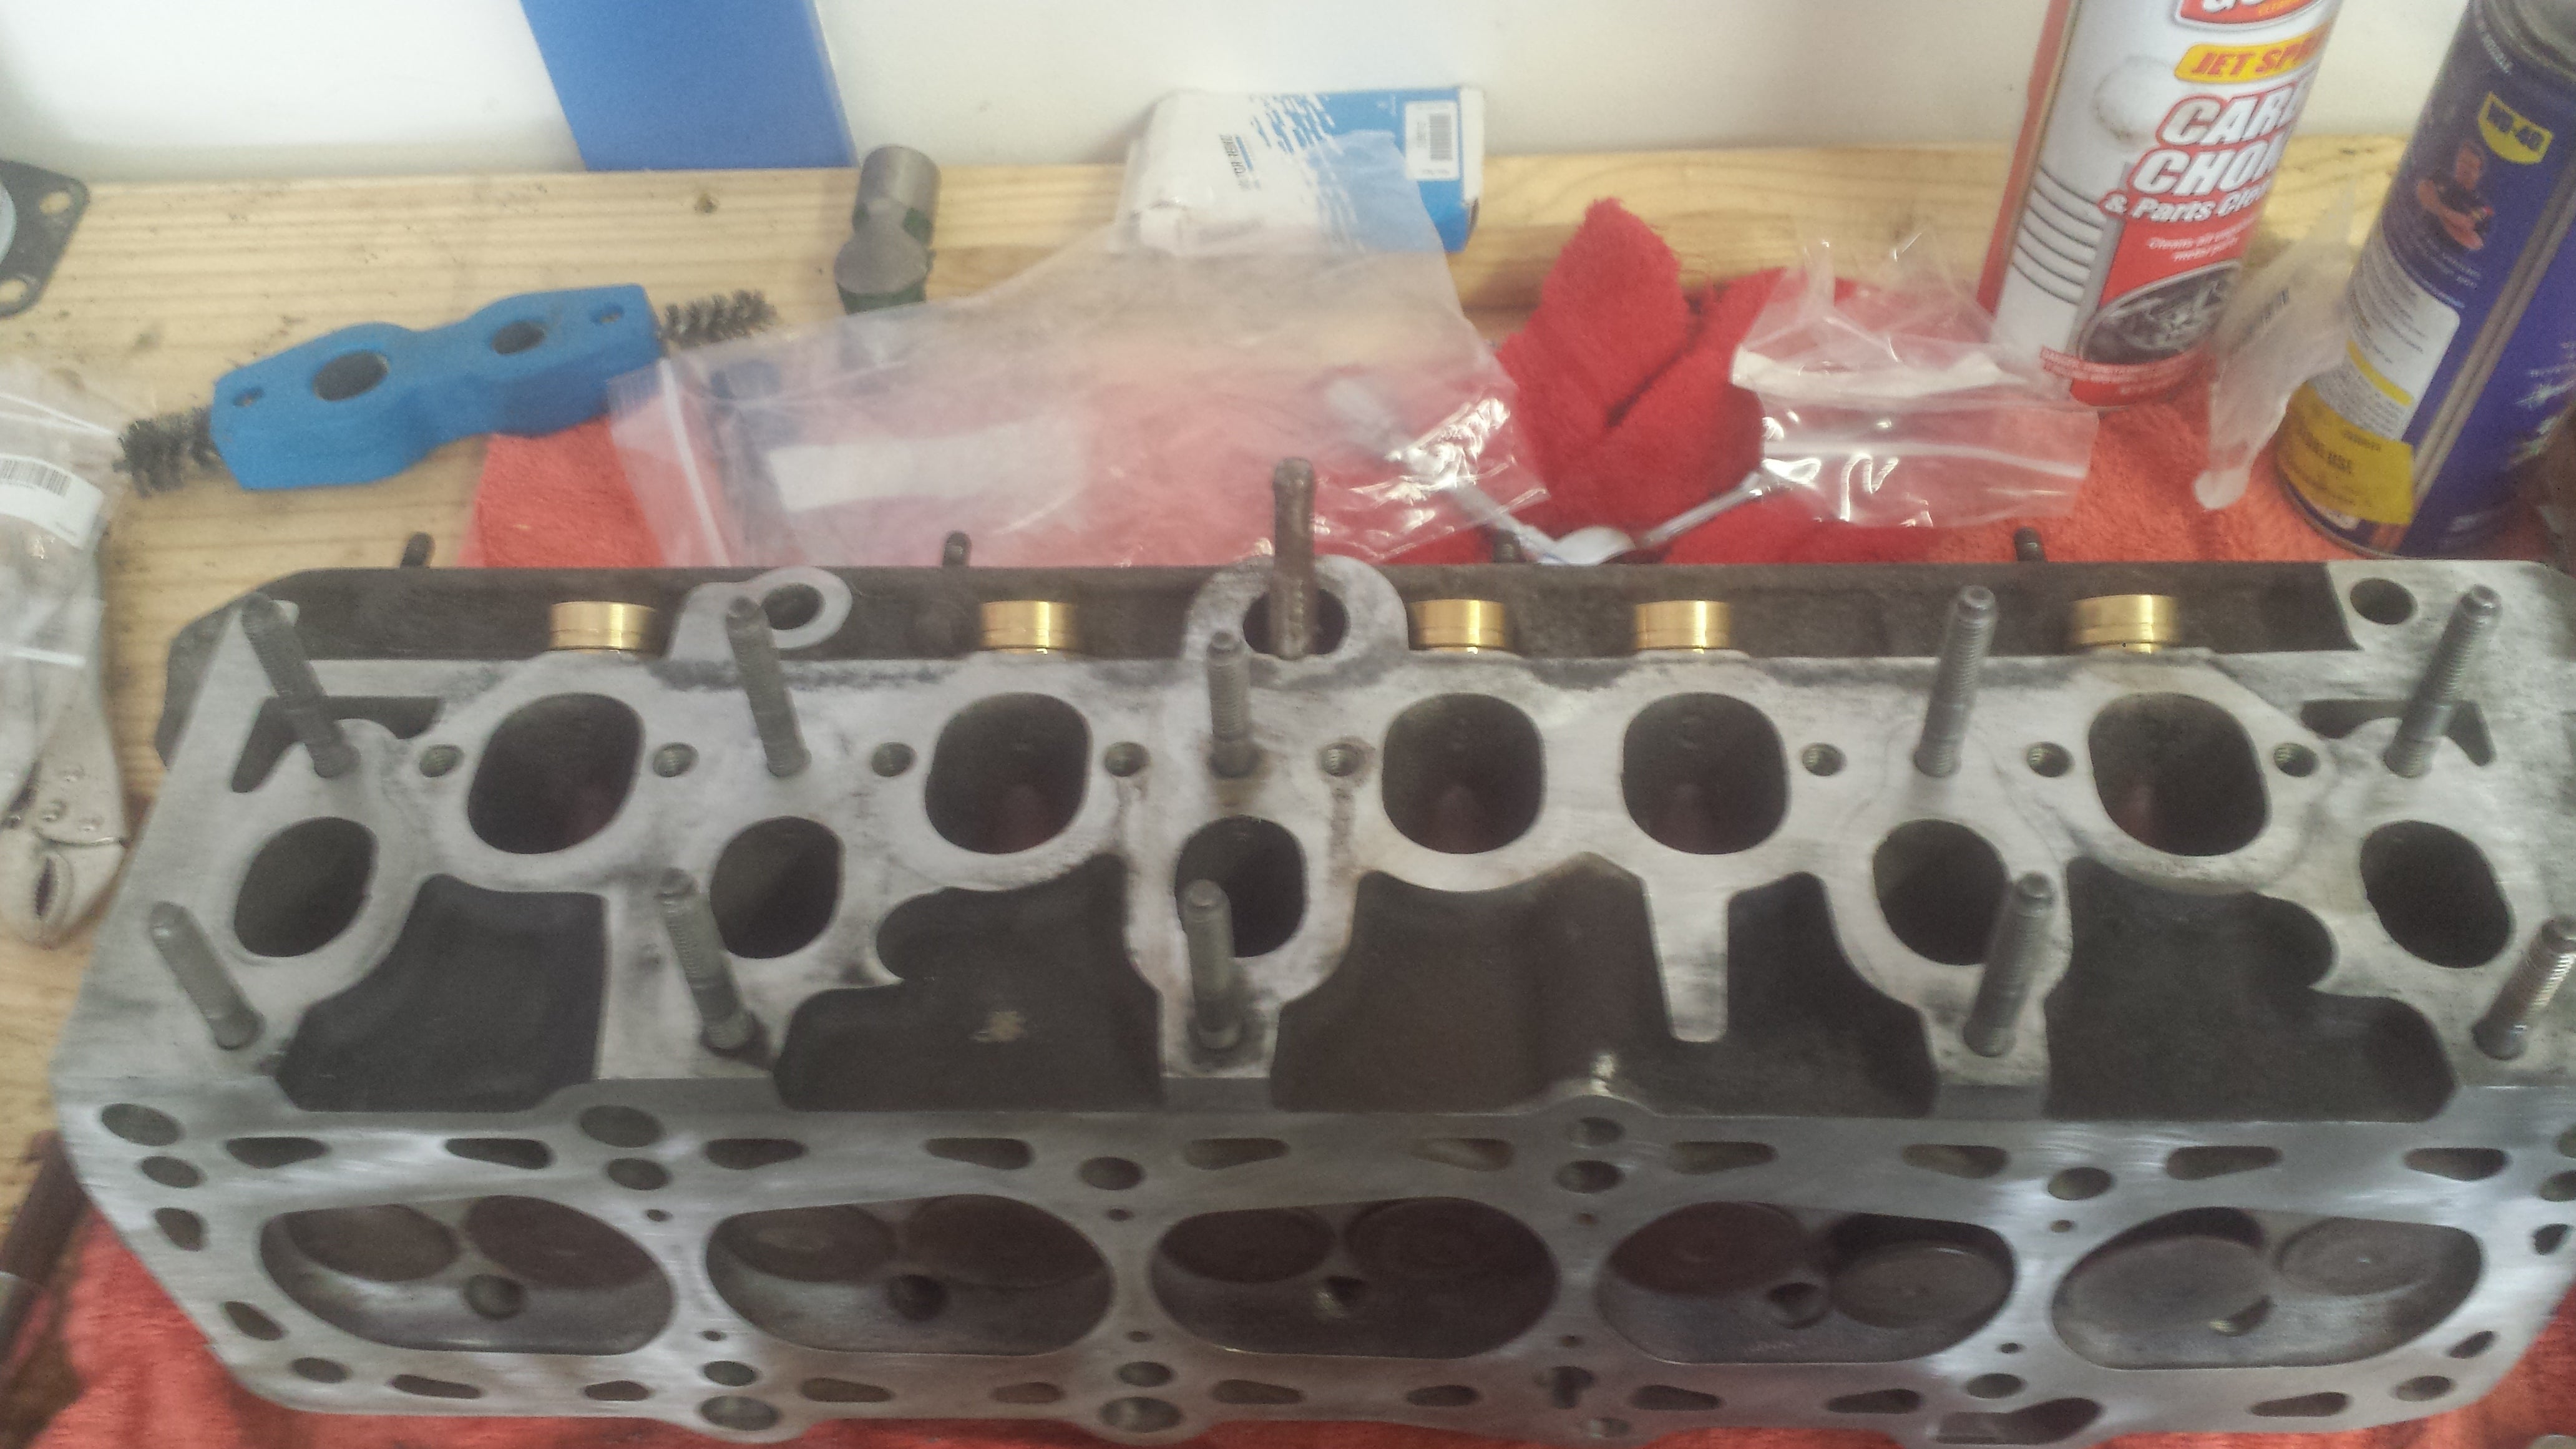
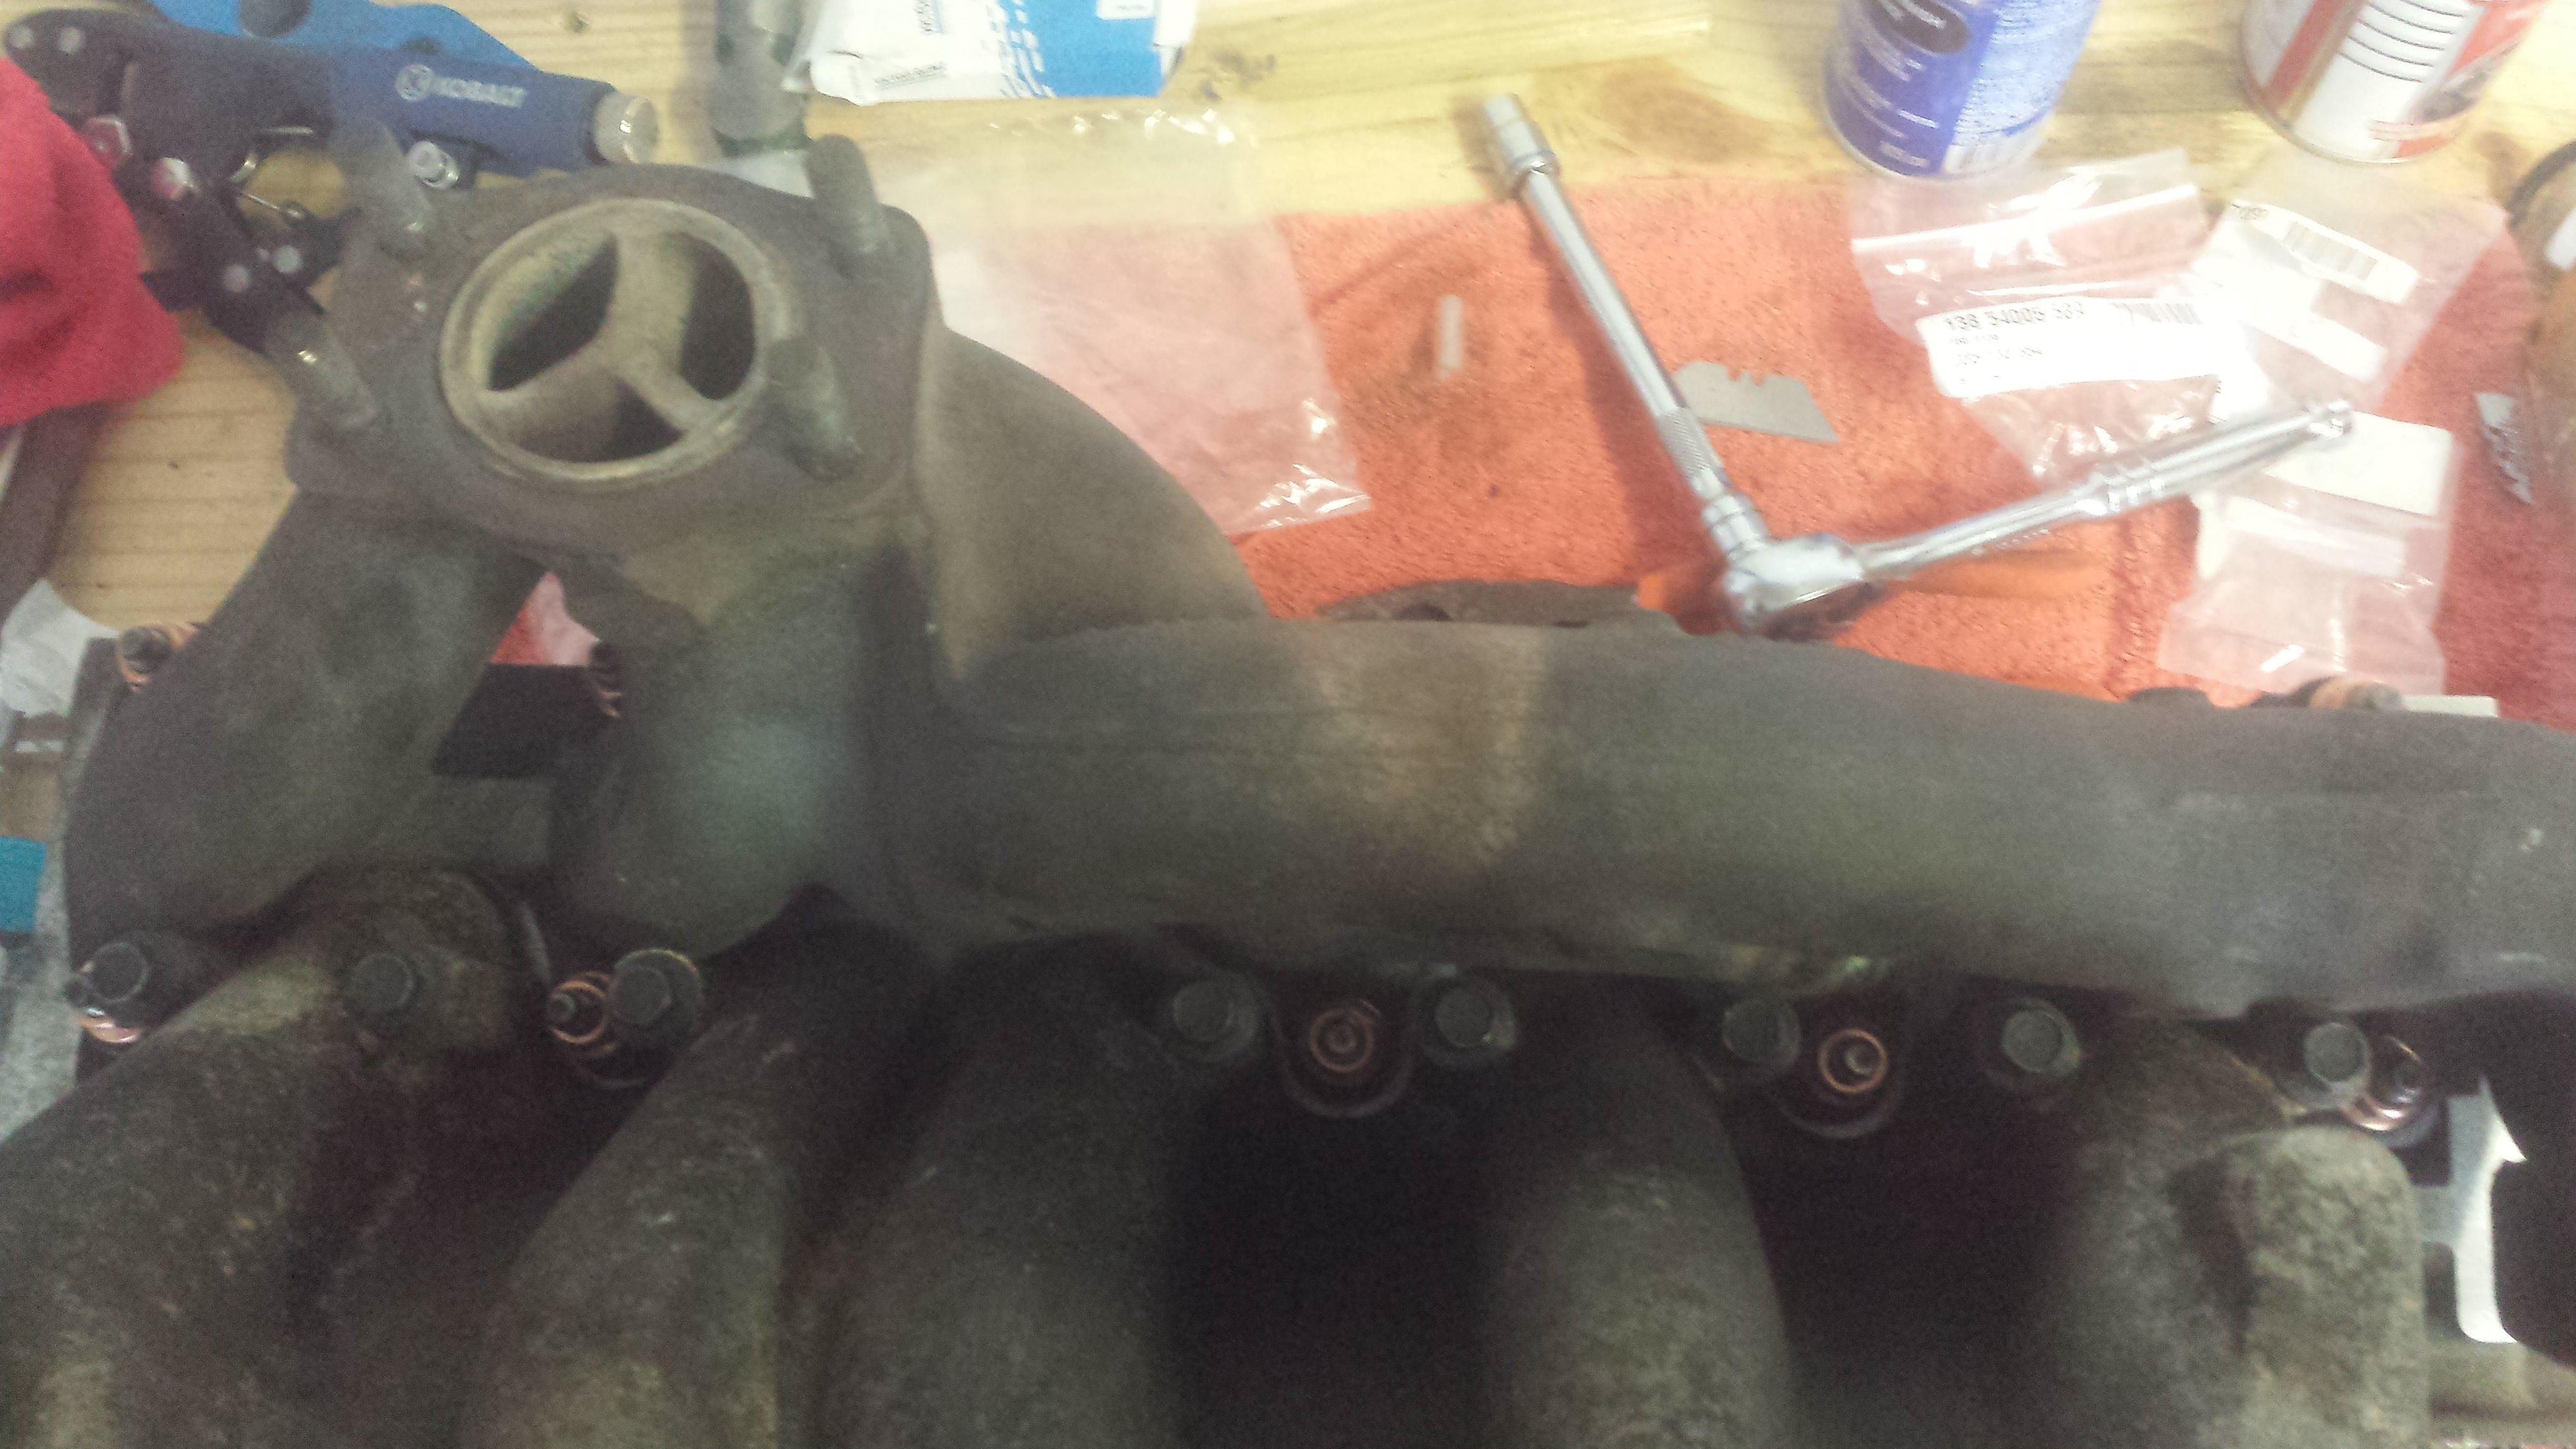
Oh yea! Check out that stud work! Not to be confused with Pt.2
If done correctly, you should have something like what is above. Next, plop on the manifold after installing the exhaust gaskets.
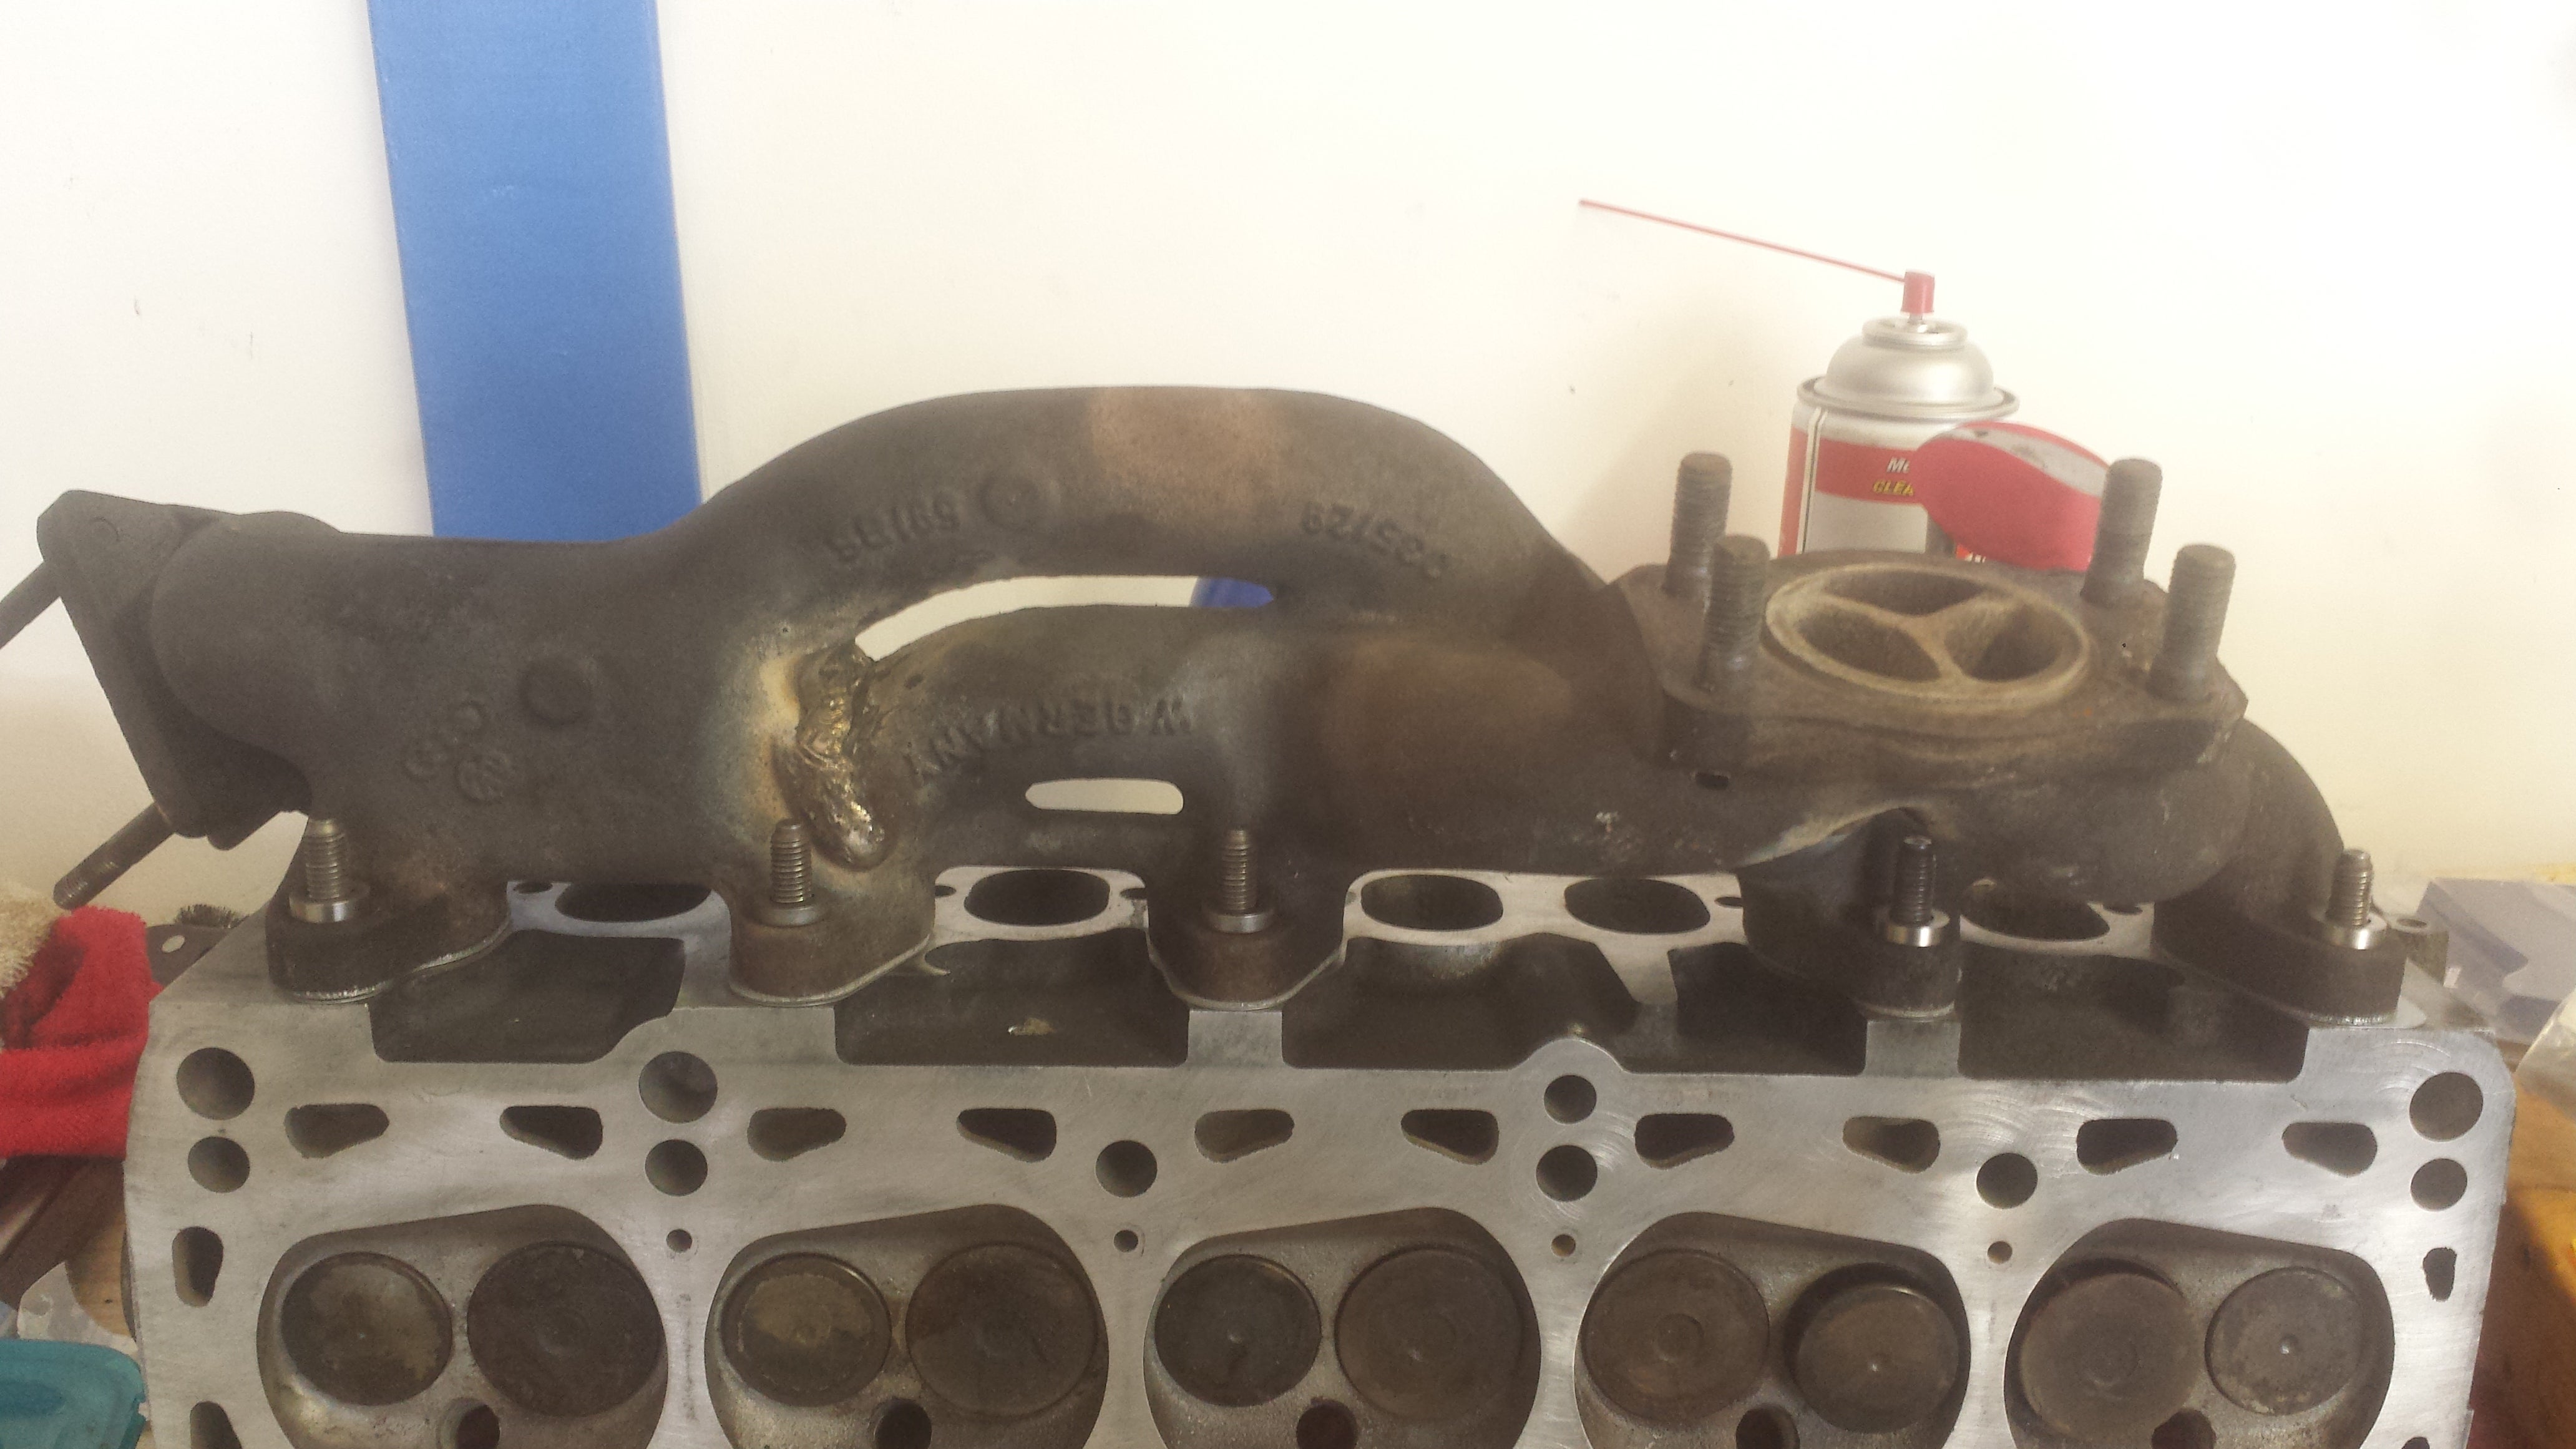
If you remember from !!!error: Indecipherable SUB-paragraph formatting!!! , I had a cracked exhaust manifold. Notice I said had. This particular engine requires the use of a steel spacer for even clamping force.
Follow the spacer with a NEW COPPER exhaust nut. It is super important that new hardware is used after removing the exhaust manifold. For one, the old hardware is rusty and rounded, and two, the new copper nuts will retain their shape and wont corrode as readily as a similar ferrous metal.
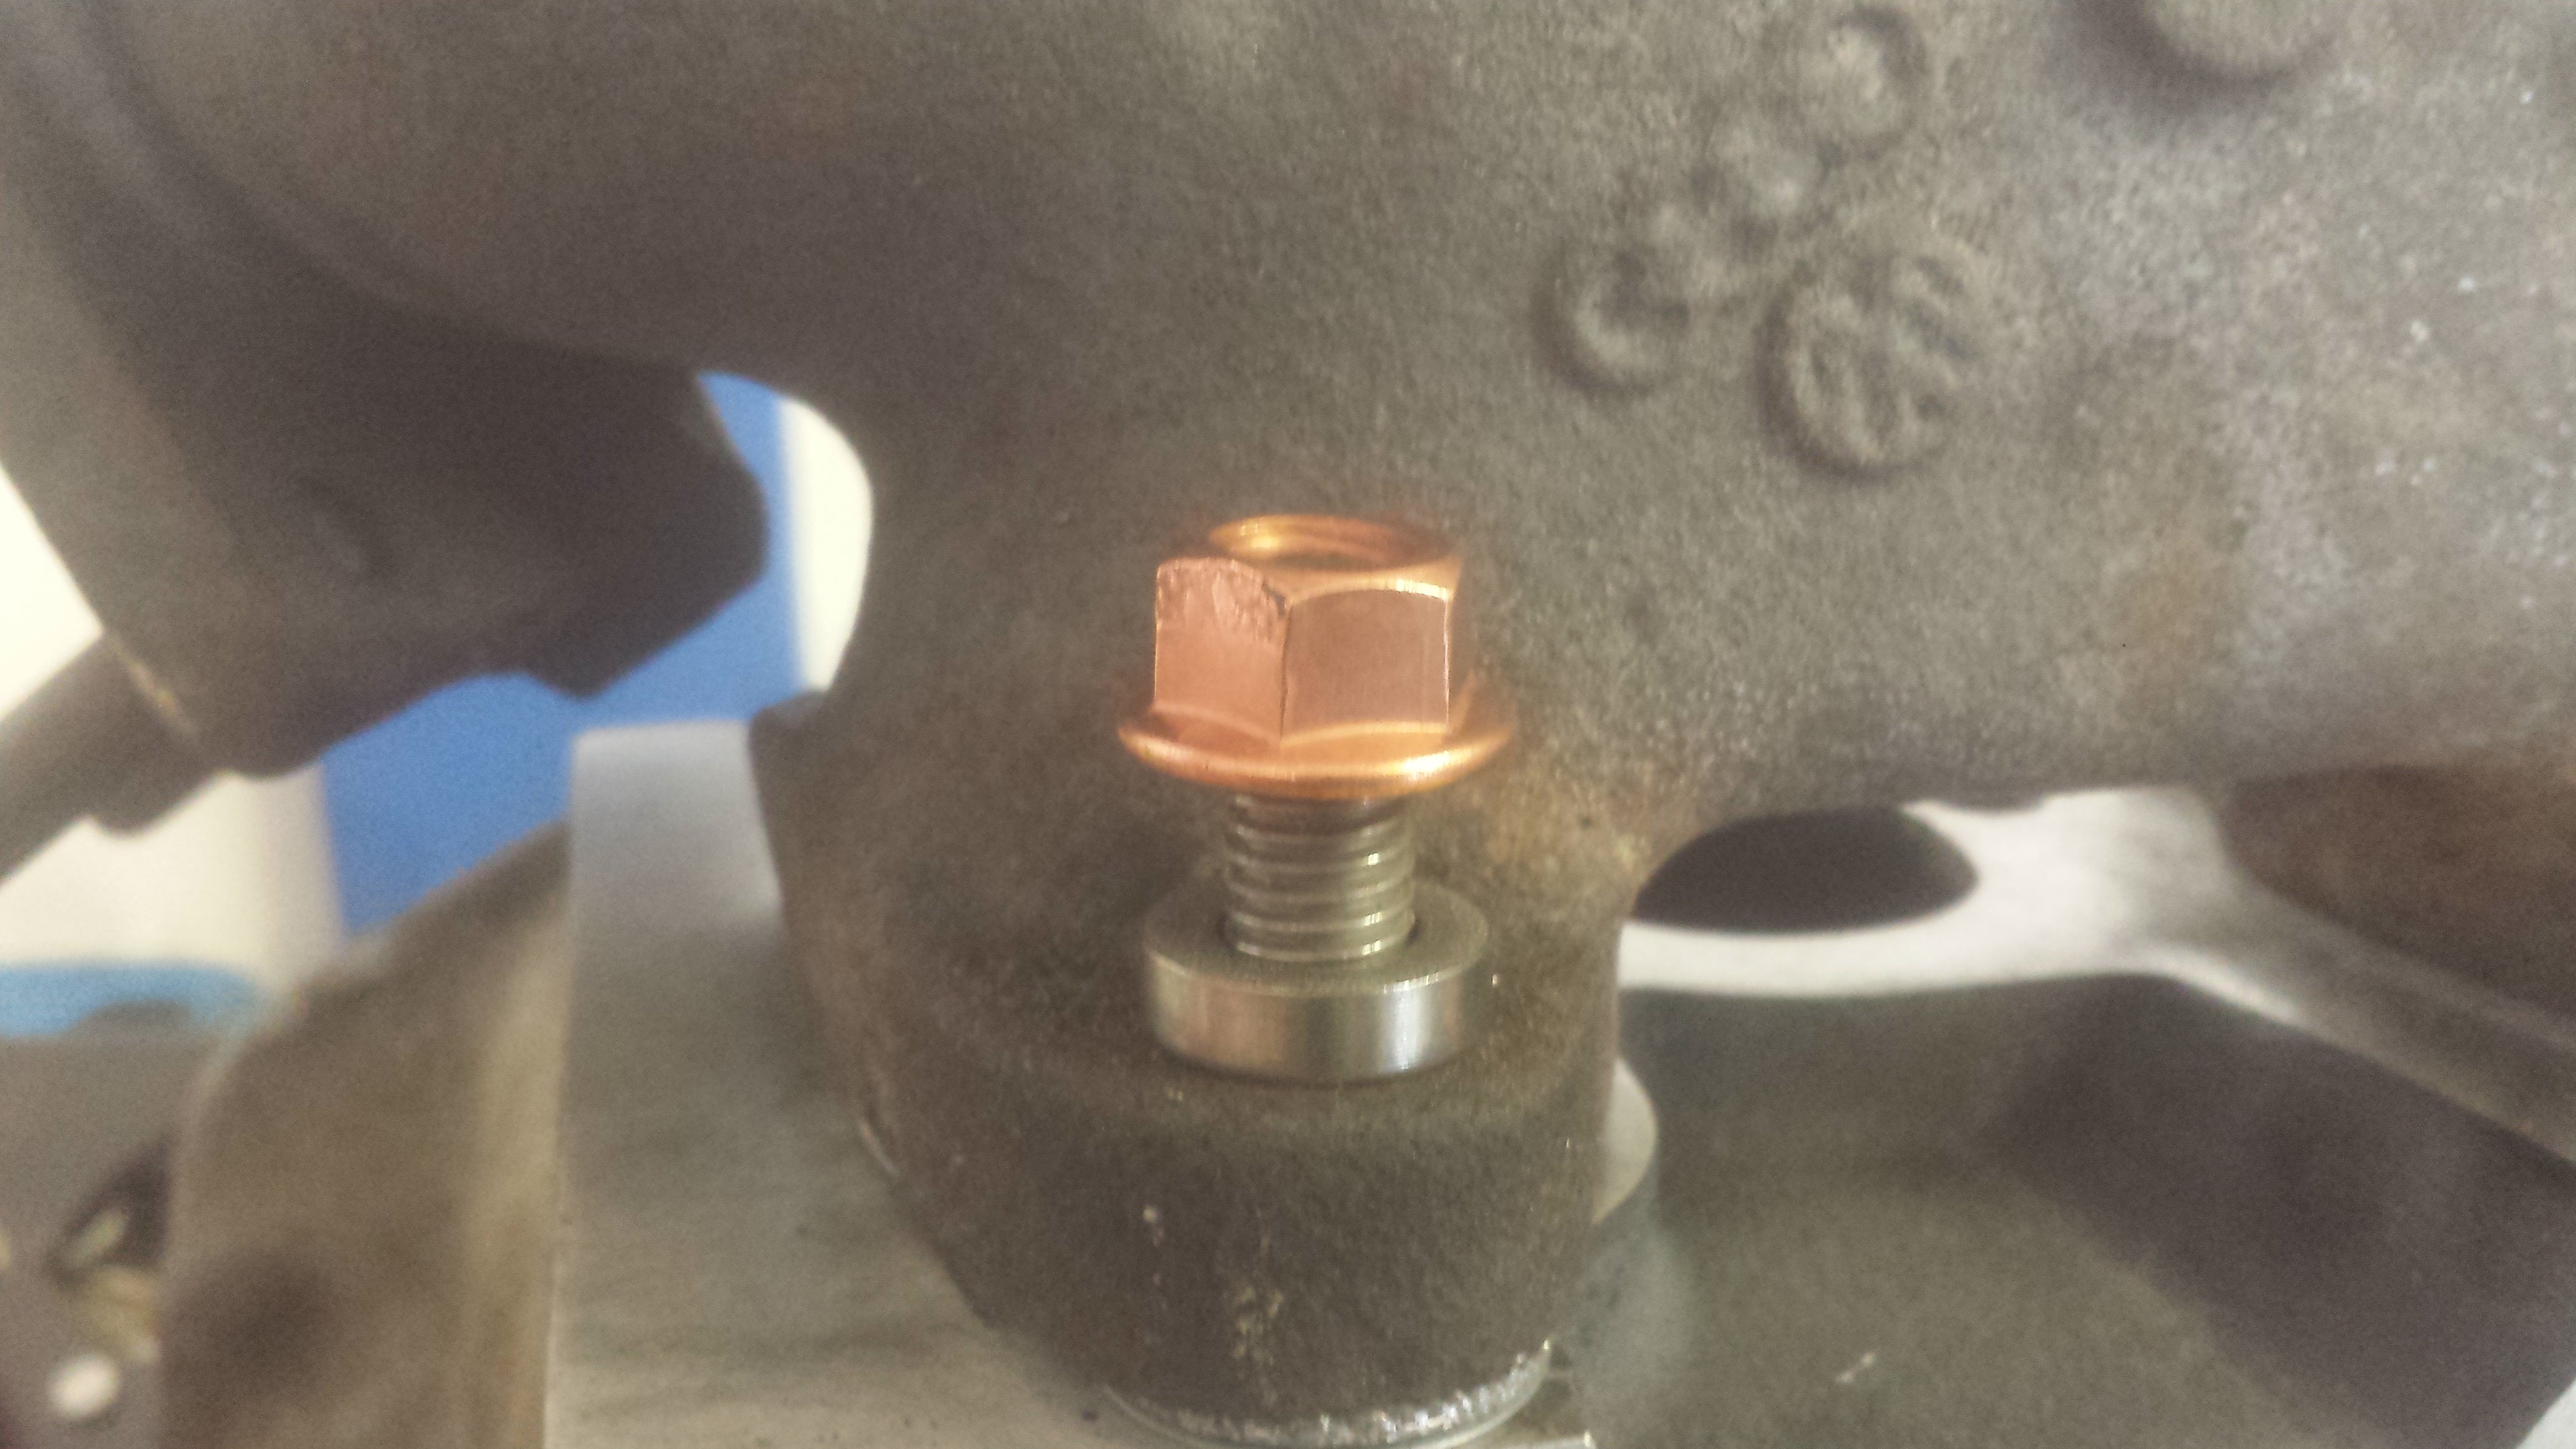
TORK EM DAHN! I like to use an outward spiraling pattern in 2 stages starting from the center most fastener. First to snug, then to torque.
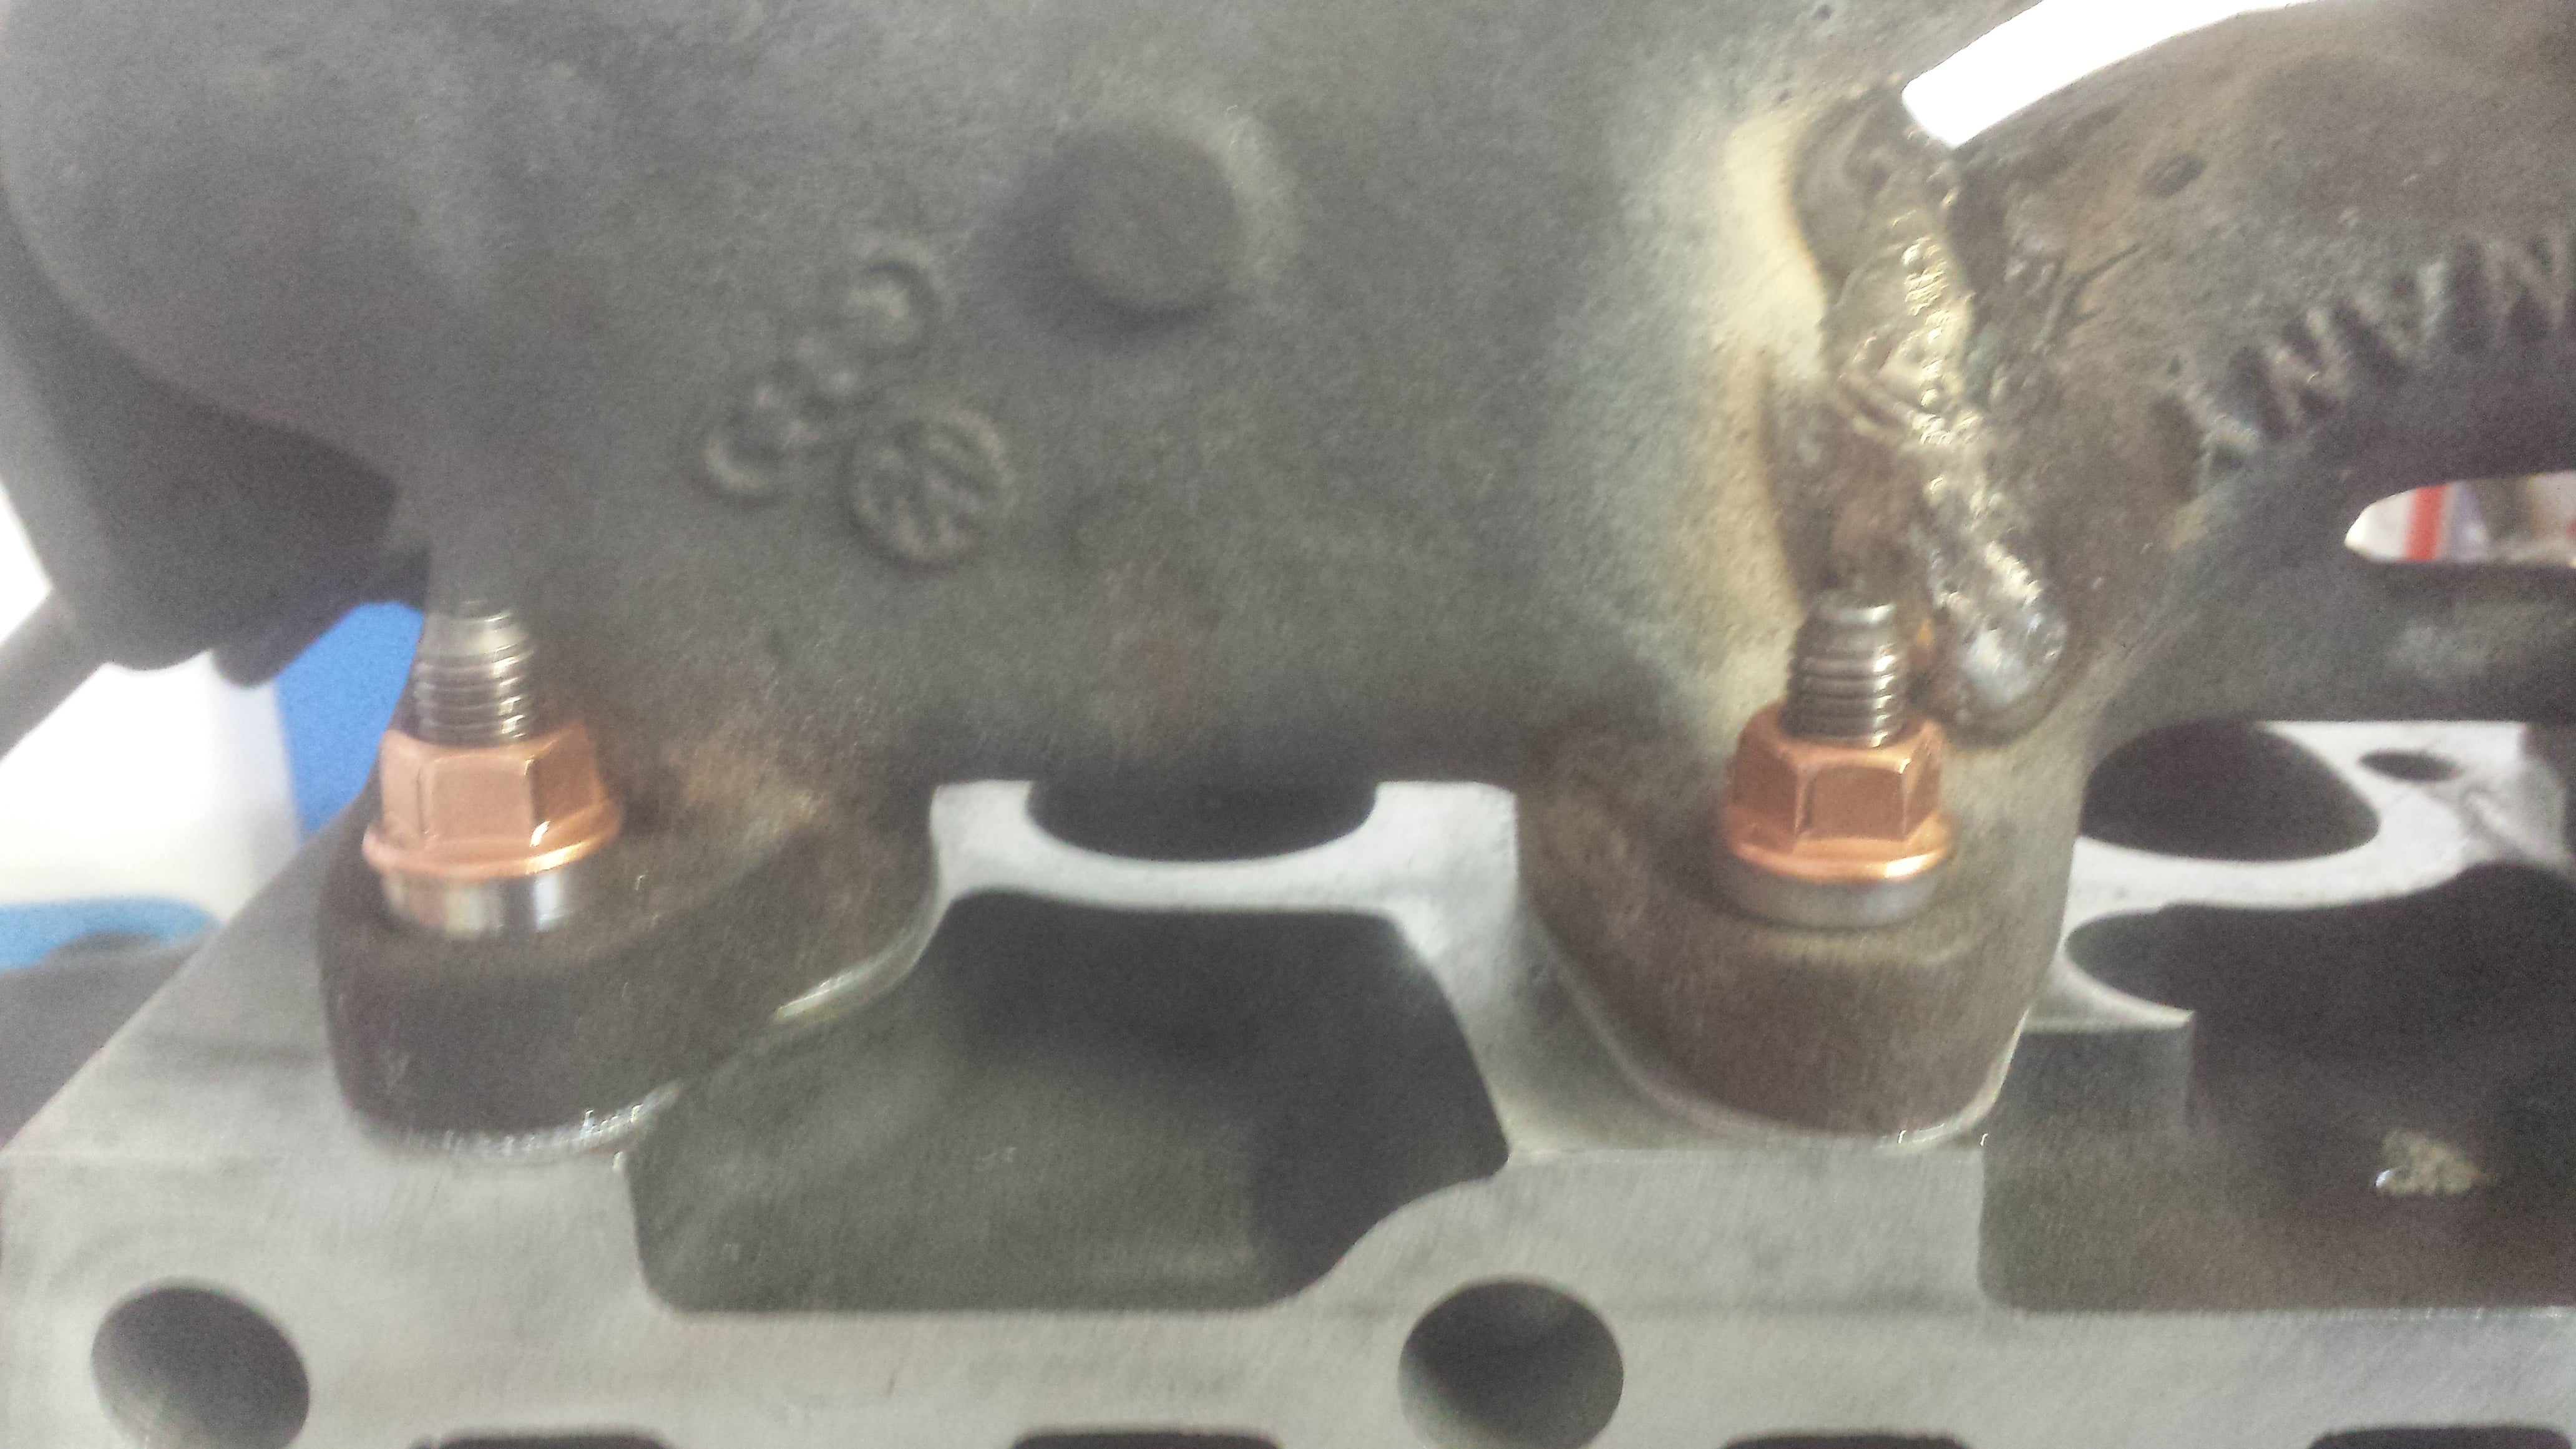
Do the same for the remaining fasteners, and lean back and just enjoy your handiwork.
Alright, smoke break is over.
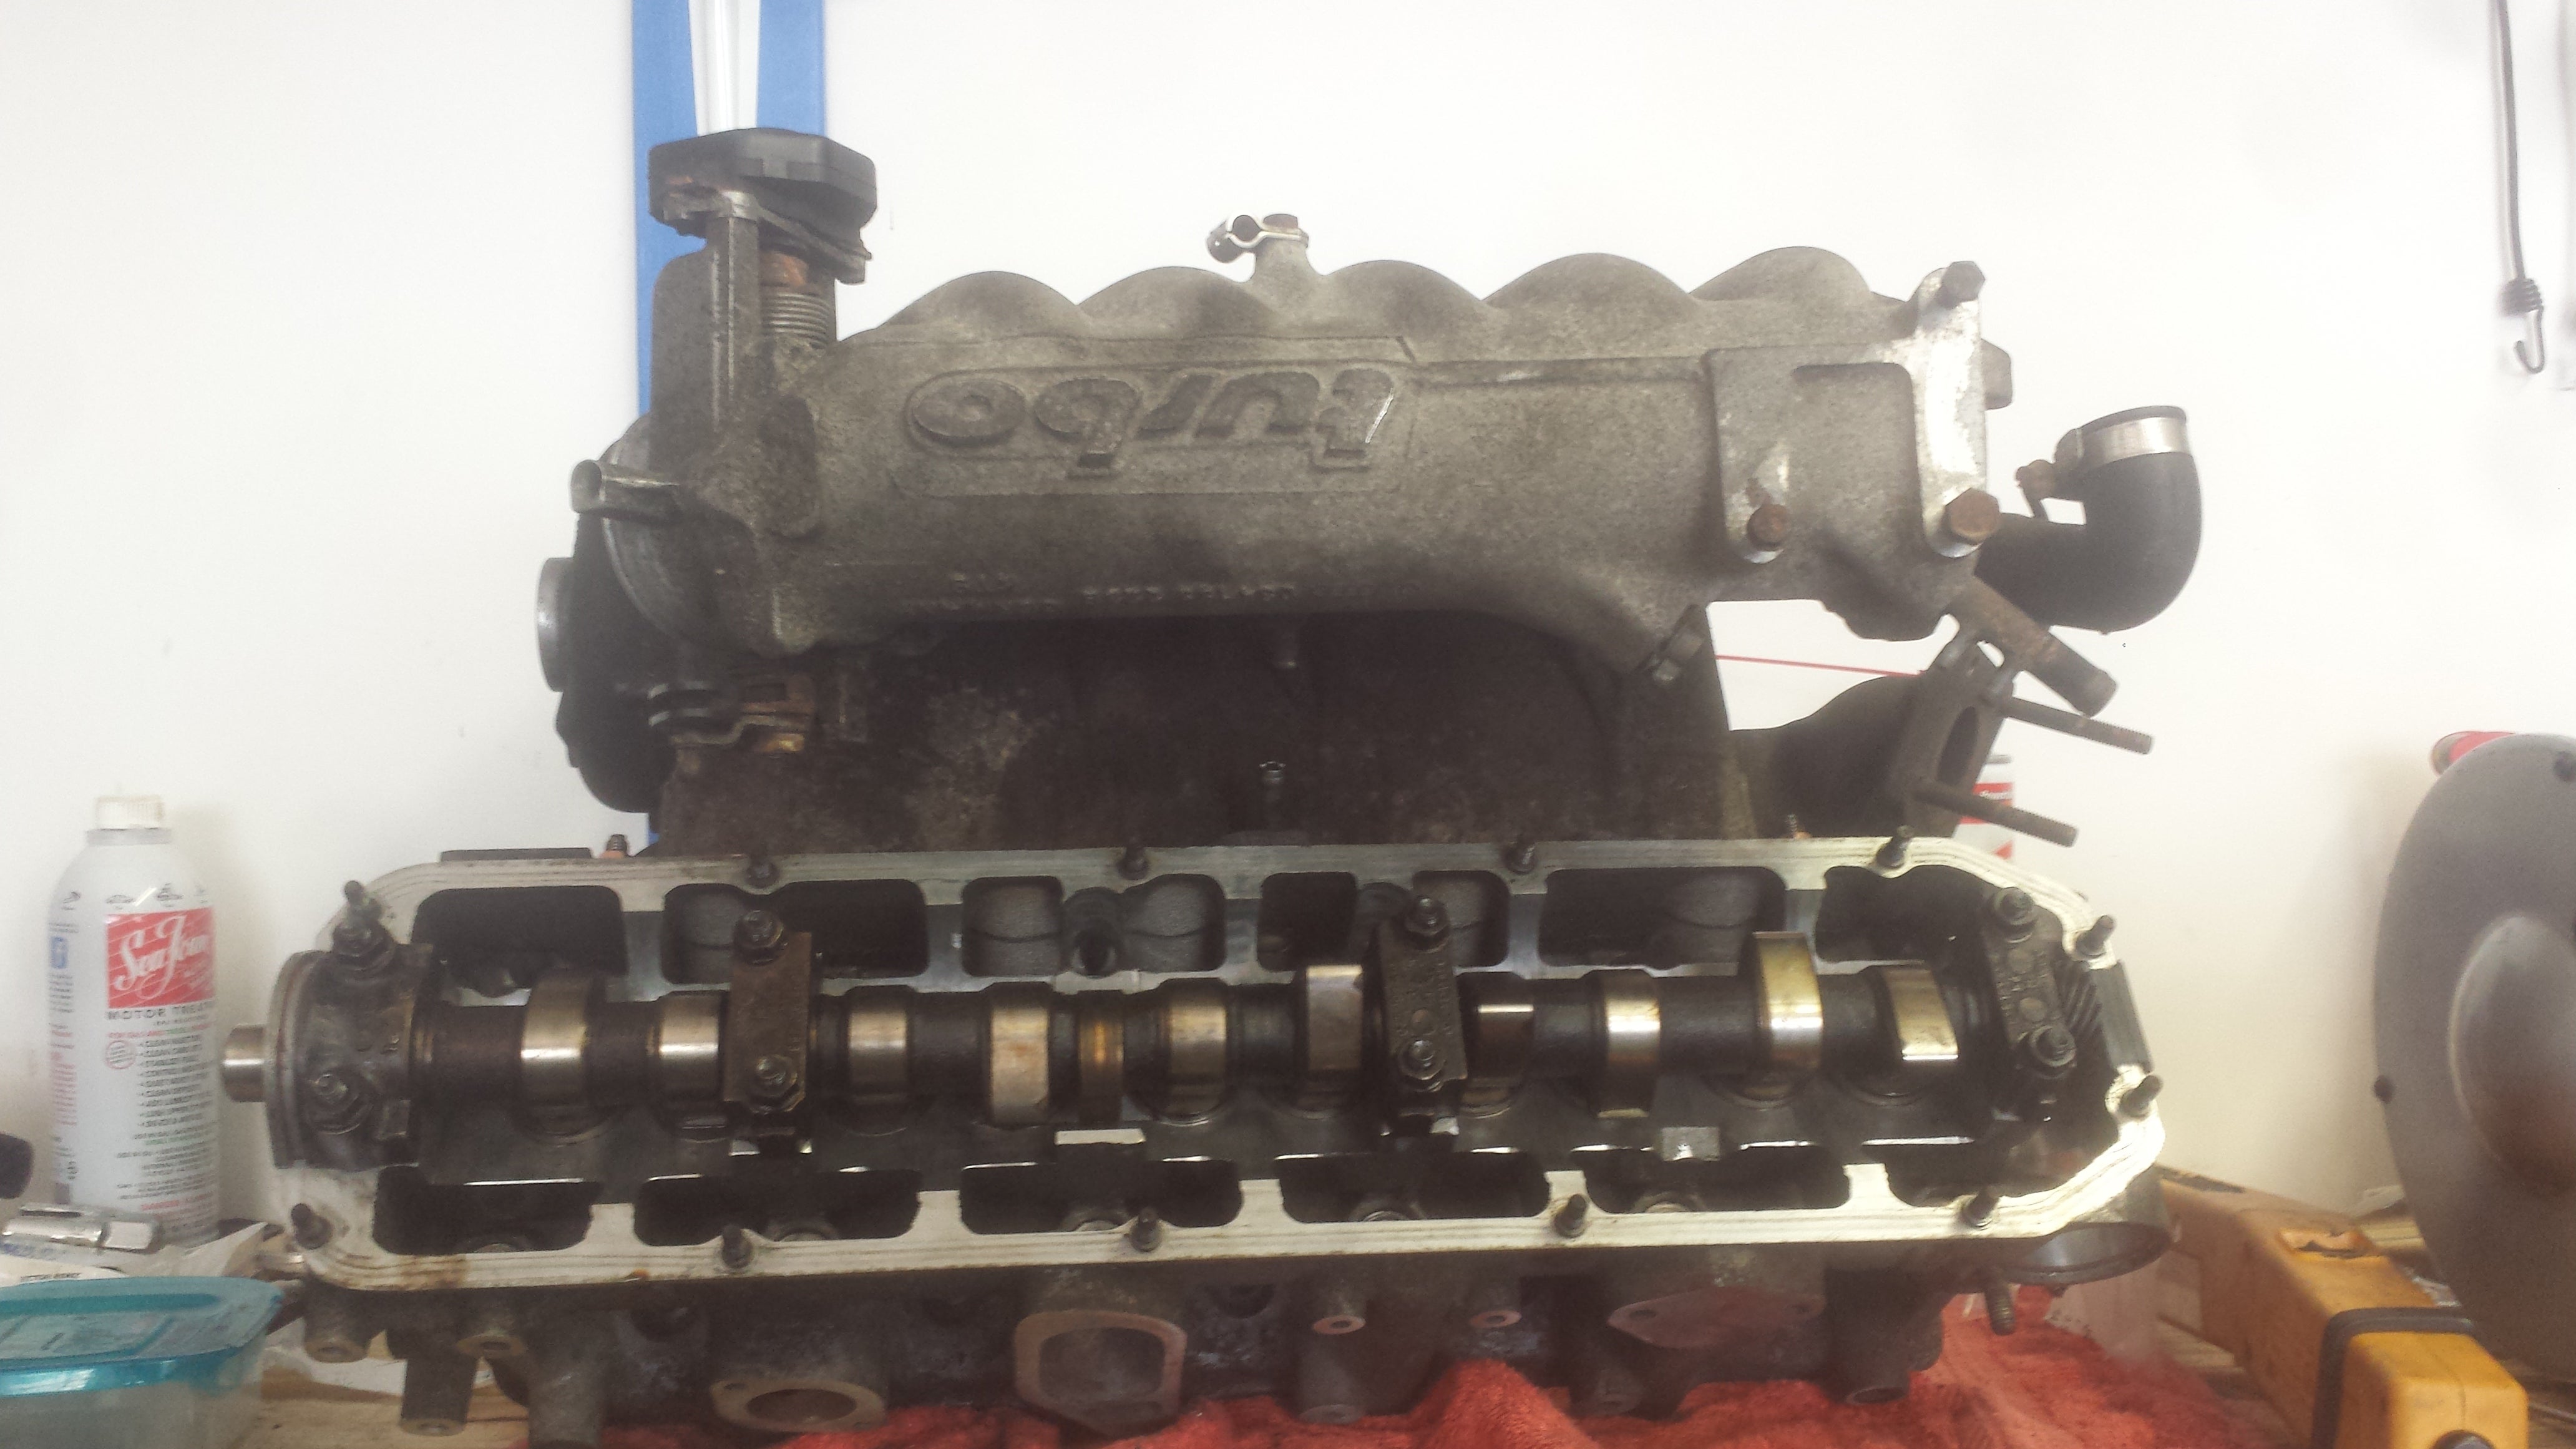
Time for the intake manifold. Stock intake bolts for the average Audi 10V engine are not of the hex head type. They tend to be smooth and require an hex key to remove. most of mine were so far gone that I had to replace them. Luckily, a friend, Jason, who works on semi-tractors for a living, had a whole mess of 10.8 metric washer head bolts that were the right length and threads for the job I needed.
I’m told they go to the valve covers on an international diesel. But that don’t befront me, because it makes the job easier for the next bloke to come in and fix it again if need be. I junked 75% of the intake bolts that were in it because of corrosion. It only made sense to replace them with hardened steel bolts from a diesel. Check out the results. I’m pleased.
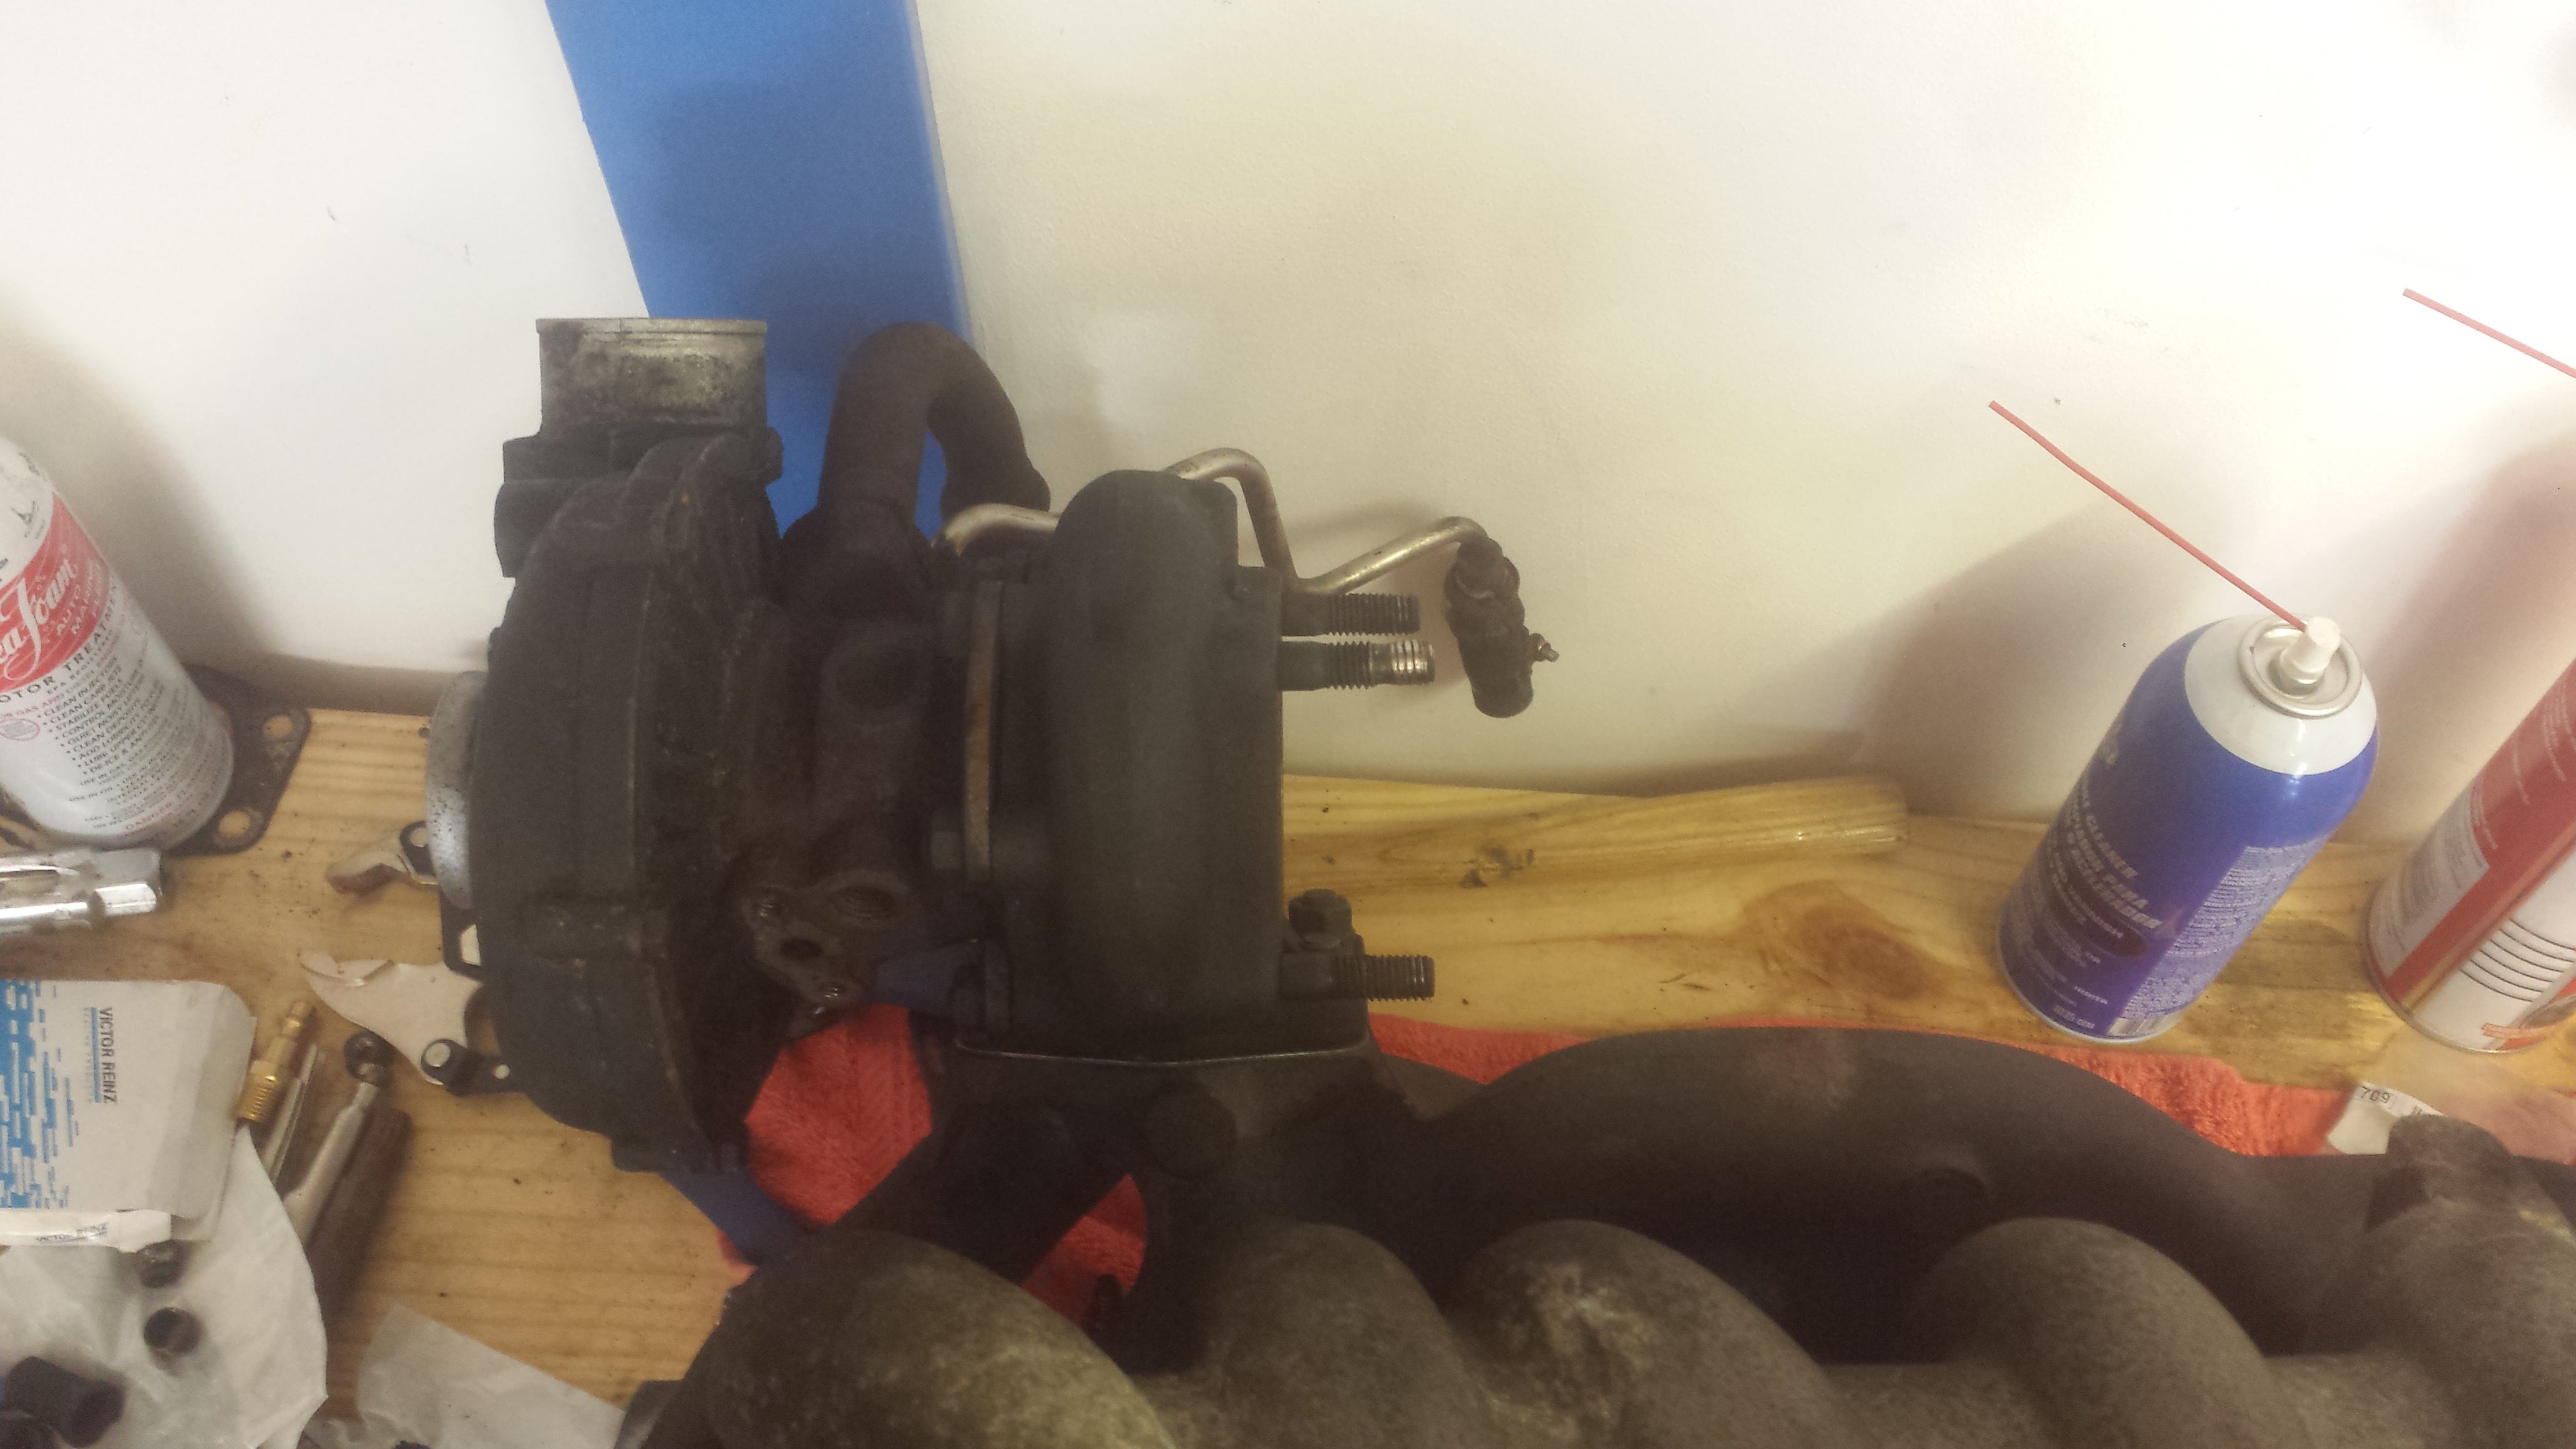
Next was the turbo. Probably the easiest but most nerve racking part of the build. Turbos tend to be really sensitive and I really hope mine is still in good shape. I just don’t like the idea of handling such a sensitive component. That and I could not for the life of me find new hardware for it so hooray...
All in all this was fun because it was like using a large Lego set. Input torque figures and boom! a sexy sumbitch that looks like this.
Next time... installing the critical components for the mechanical fuel injection system and a brief foray into how it actually works.
Follow me on
!!!error: Indecipherable SUB-paragraph formatting!!!
, and
!!!error: Indecipherable SUB-paragraph formatting!!!
Audi 5k series: !!!error: Indecipherable SUB-paragraph formatting!!! , !!!error: Indecipherable SUB-paragraph formatting!!! , !!!error: Indecipherable SUB-paragraph formatting!!!
 Birddog
> Forge Crown Victor!
Birddog
> Forge Crown Victor!
09/17/2016 at 02:43 |
|
You. I like you. If only for one line.
“But that don’t befront me”
Immediately George Thorogood’s House Rent Boogie started playing in my mind.
|
Forge Crown Victor!
> Birddog
09/17/2016 at 10:25 |
|
That was the inspiration. Thank you for noticing.